When we were married (6.5 and change years ago), one of our wedding gifts was a countertop microwave, which has come in handy quite a bit. We’ve had to use it throughout all the different apartments we lived in, and it has taken up it’s fair share of countertop space. Even when we moved in to our house, there was no microwave, so we continued to use it here… and it continued to eat up space on the counter.
When we moved in to our house, we replaced all of the kitchen appliances, and included in the package that we bought was an over-the-range microwave. We liked the idea of taking back the space that this thing had taken up. The only problem was that the cabinet it would be attached to was too low. After more than a year of it sitting in the garage, we finally decided to install it.
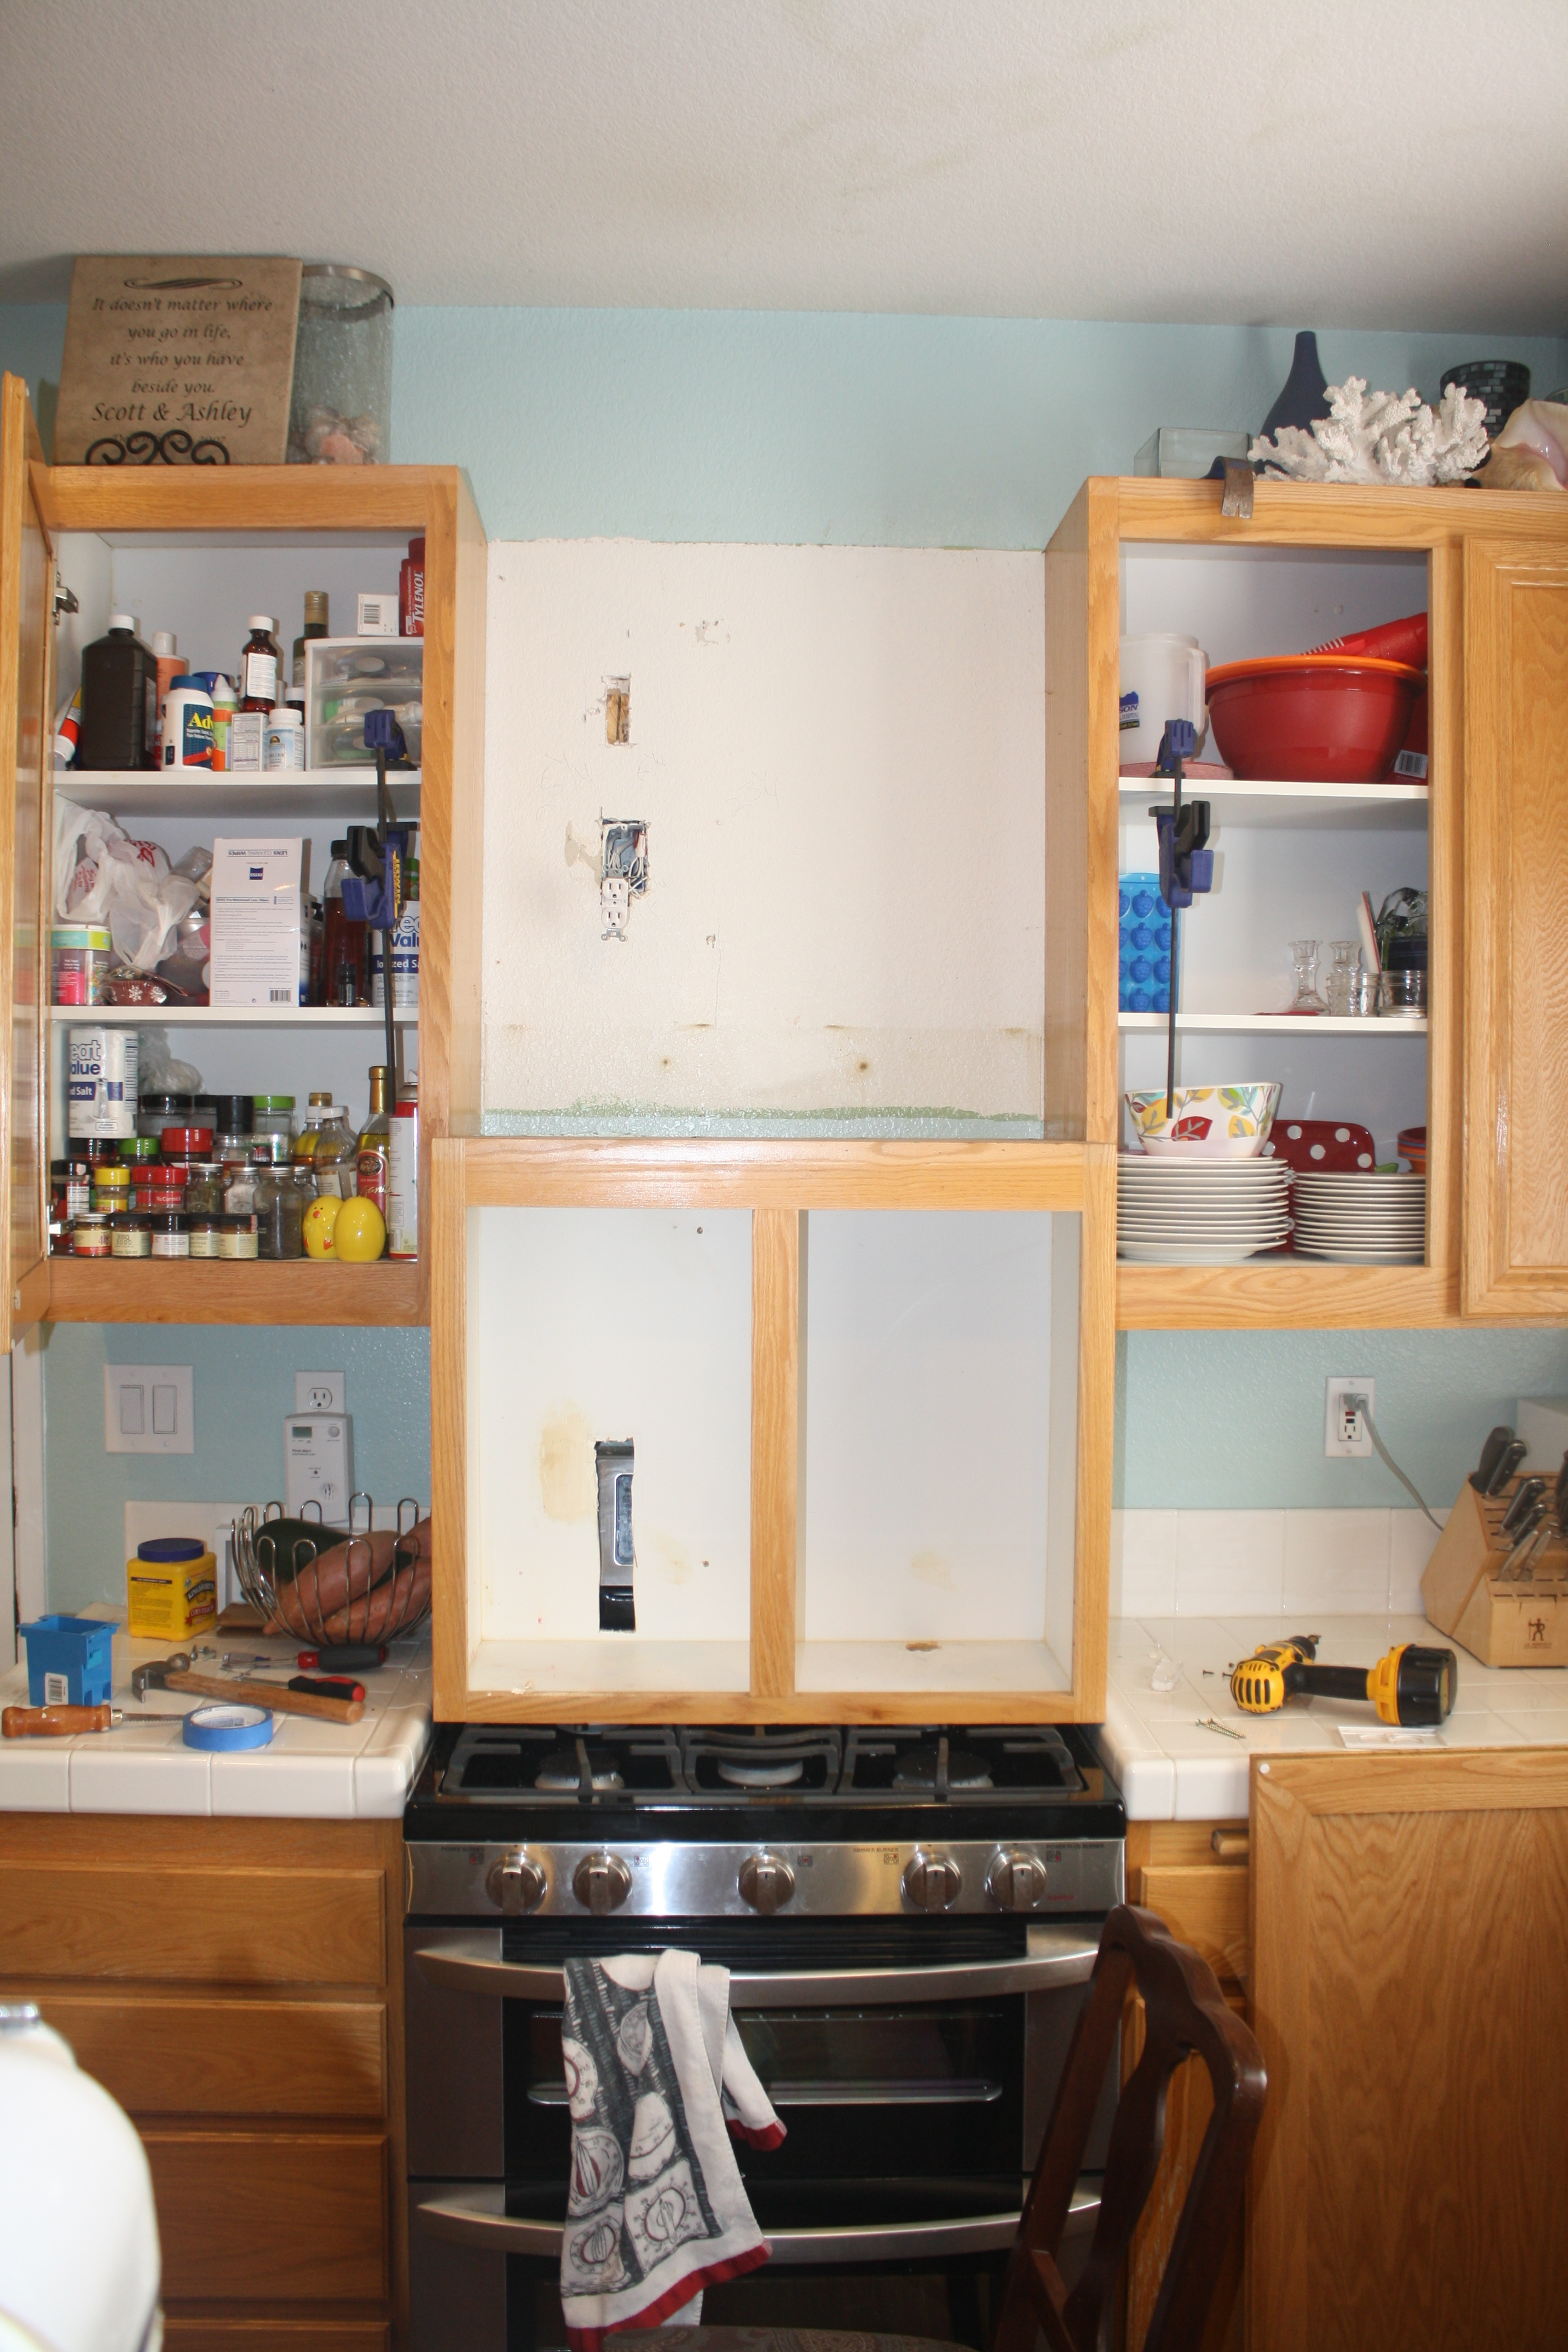
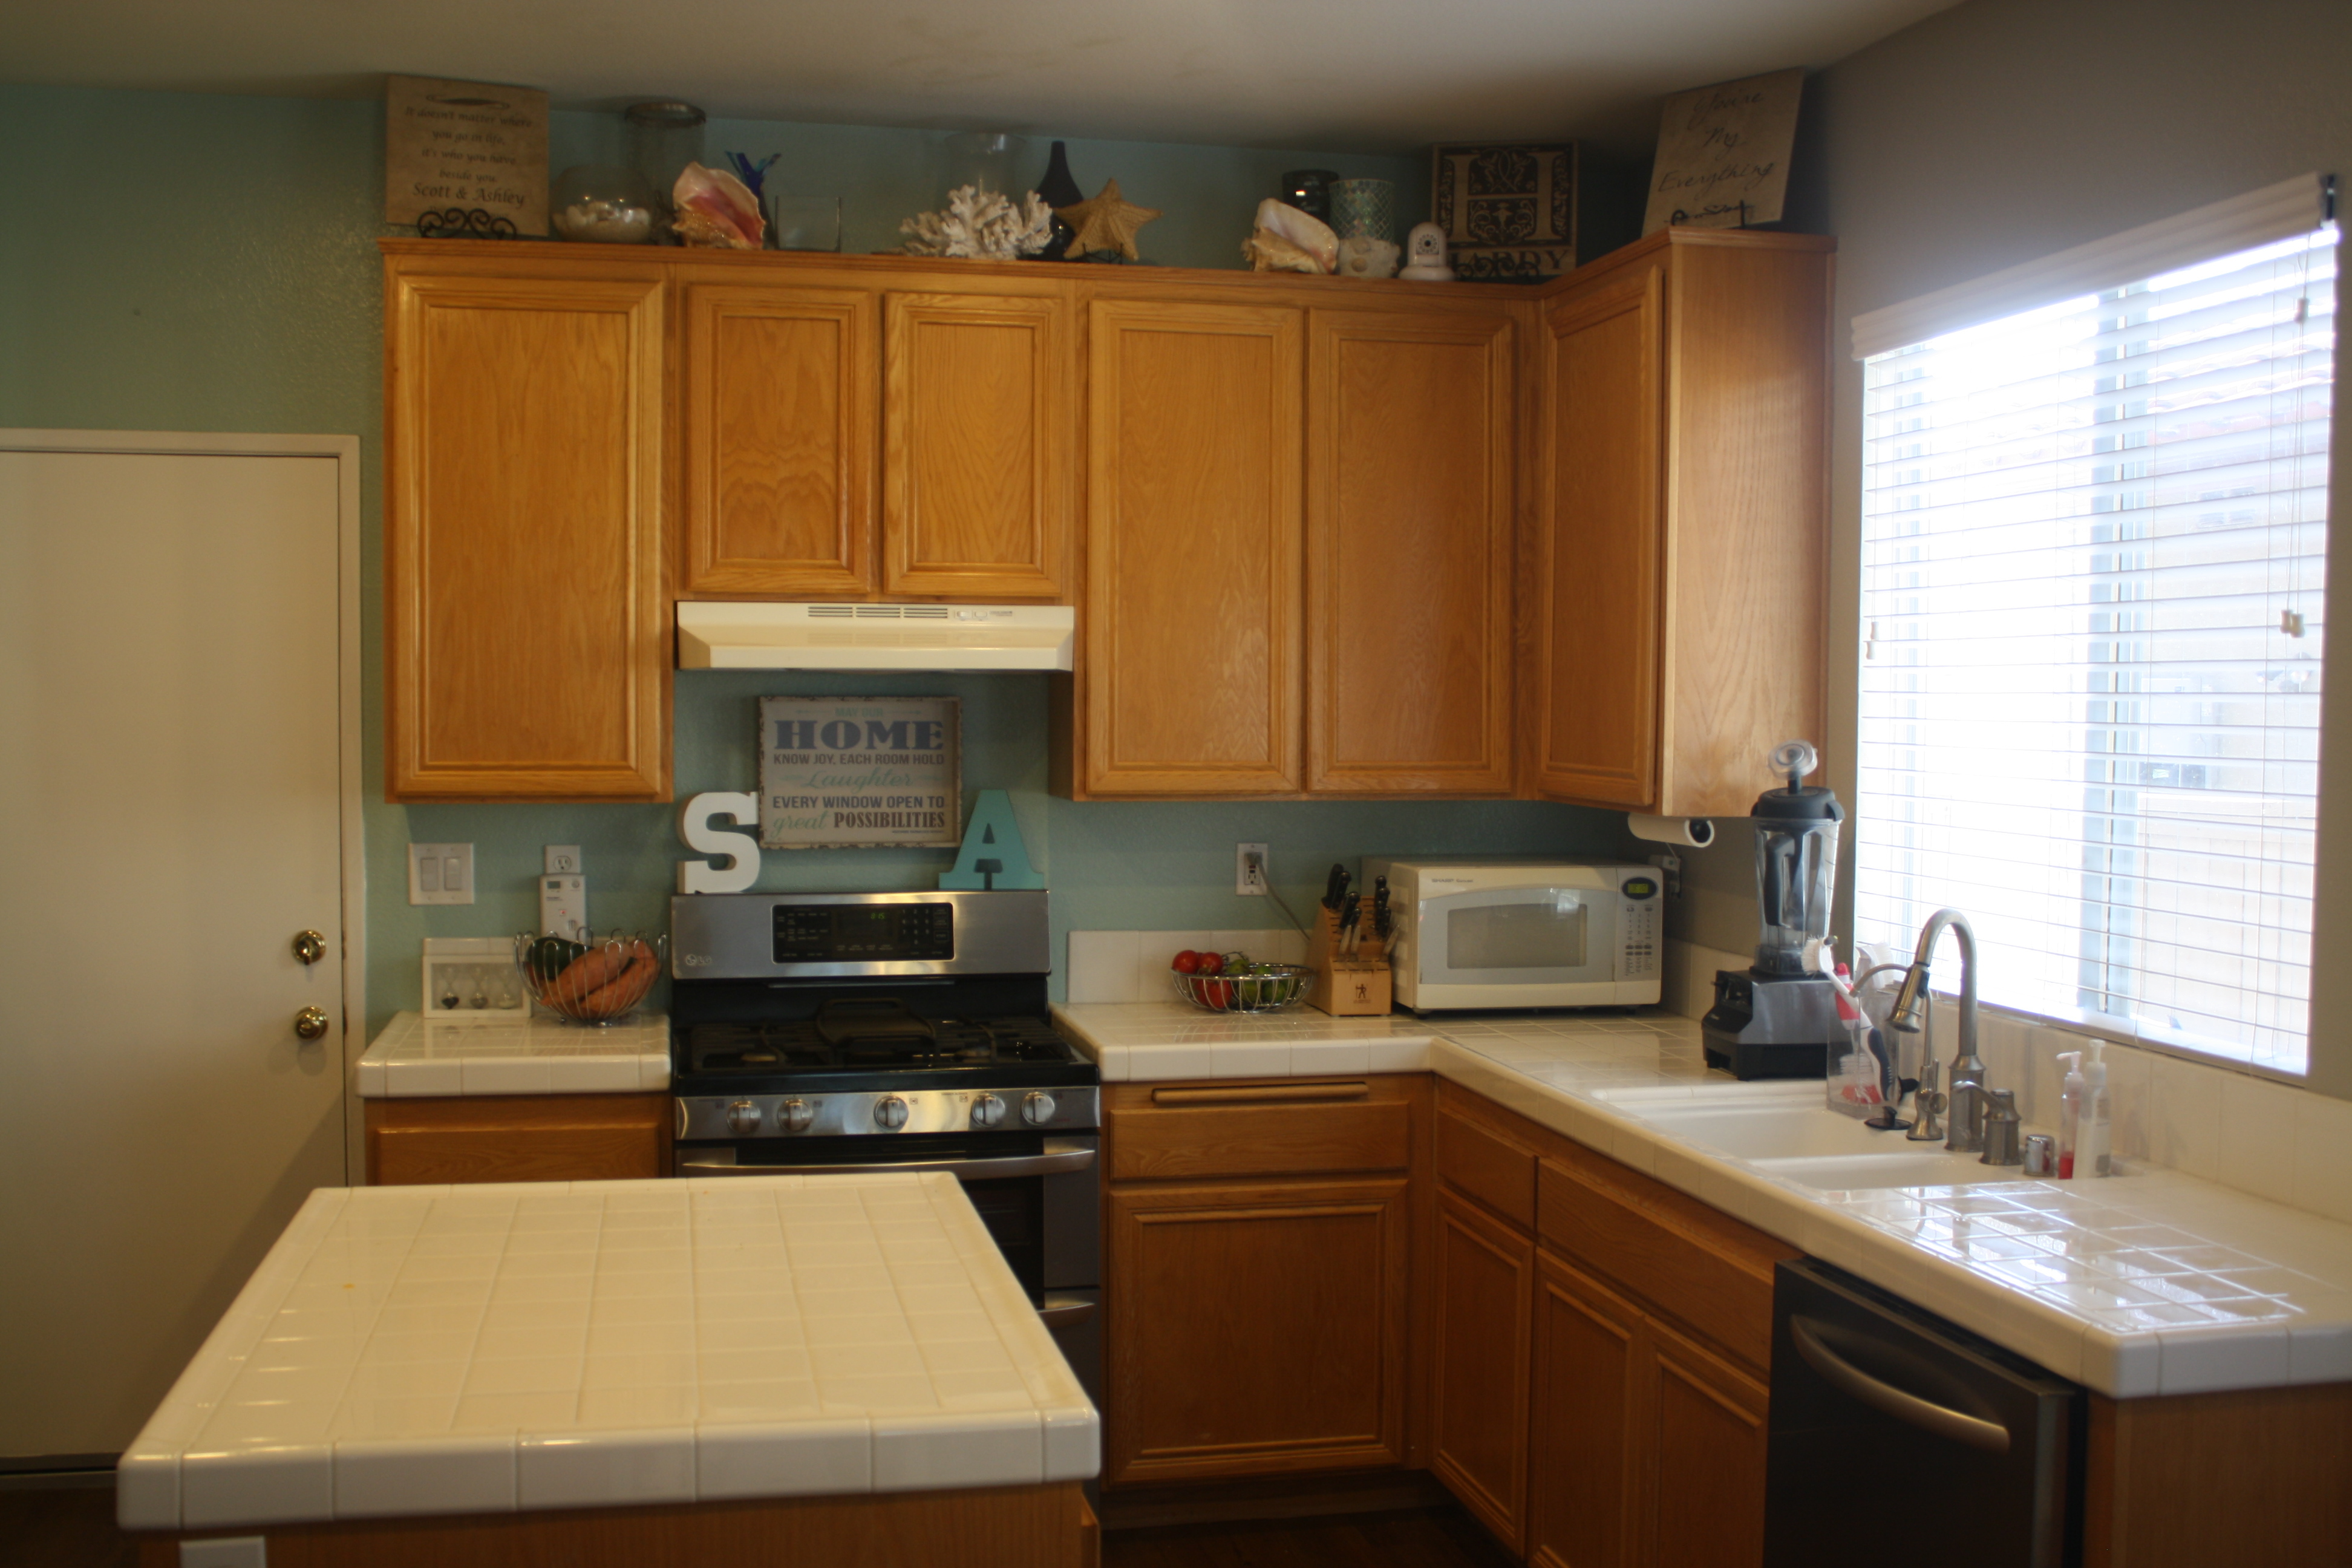 Here is what the kitchen looked like before. Notice the microwave sitting in the corner. The new microwave is about 16″ tall, which would have hung too low above the stove. After a few measurements, we decided that an extra 6″ of clearance would be perfect.
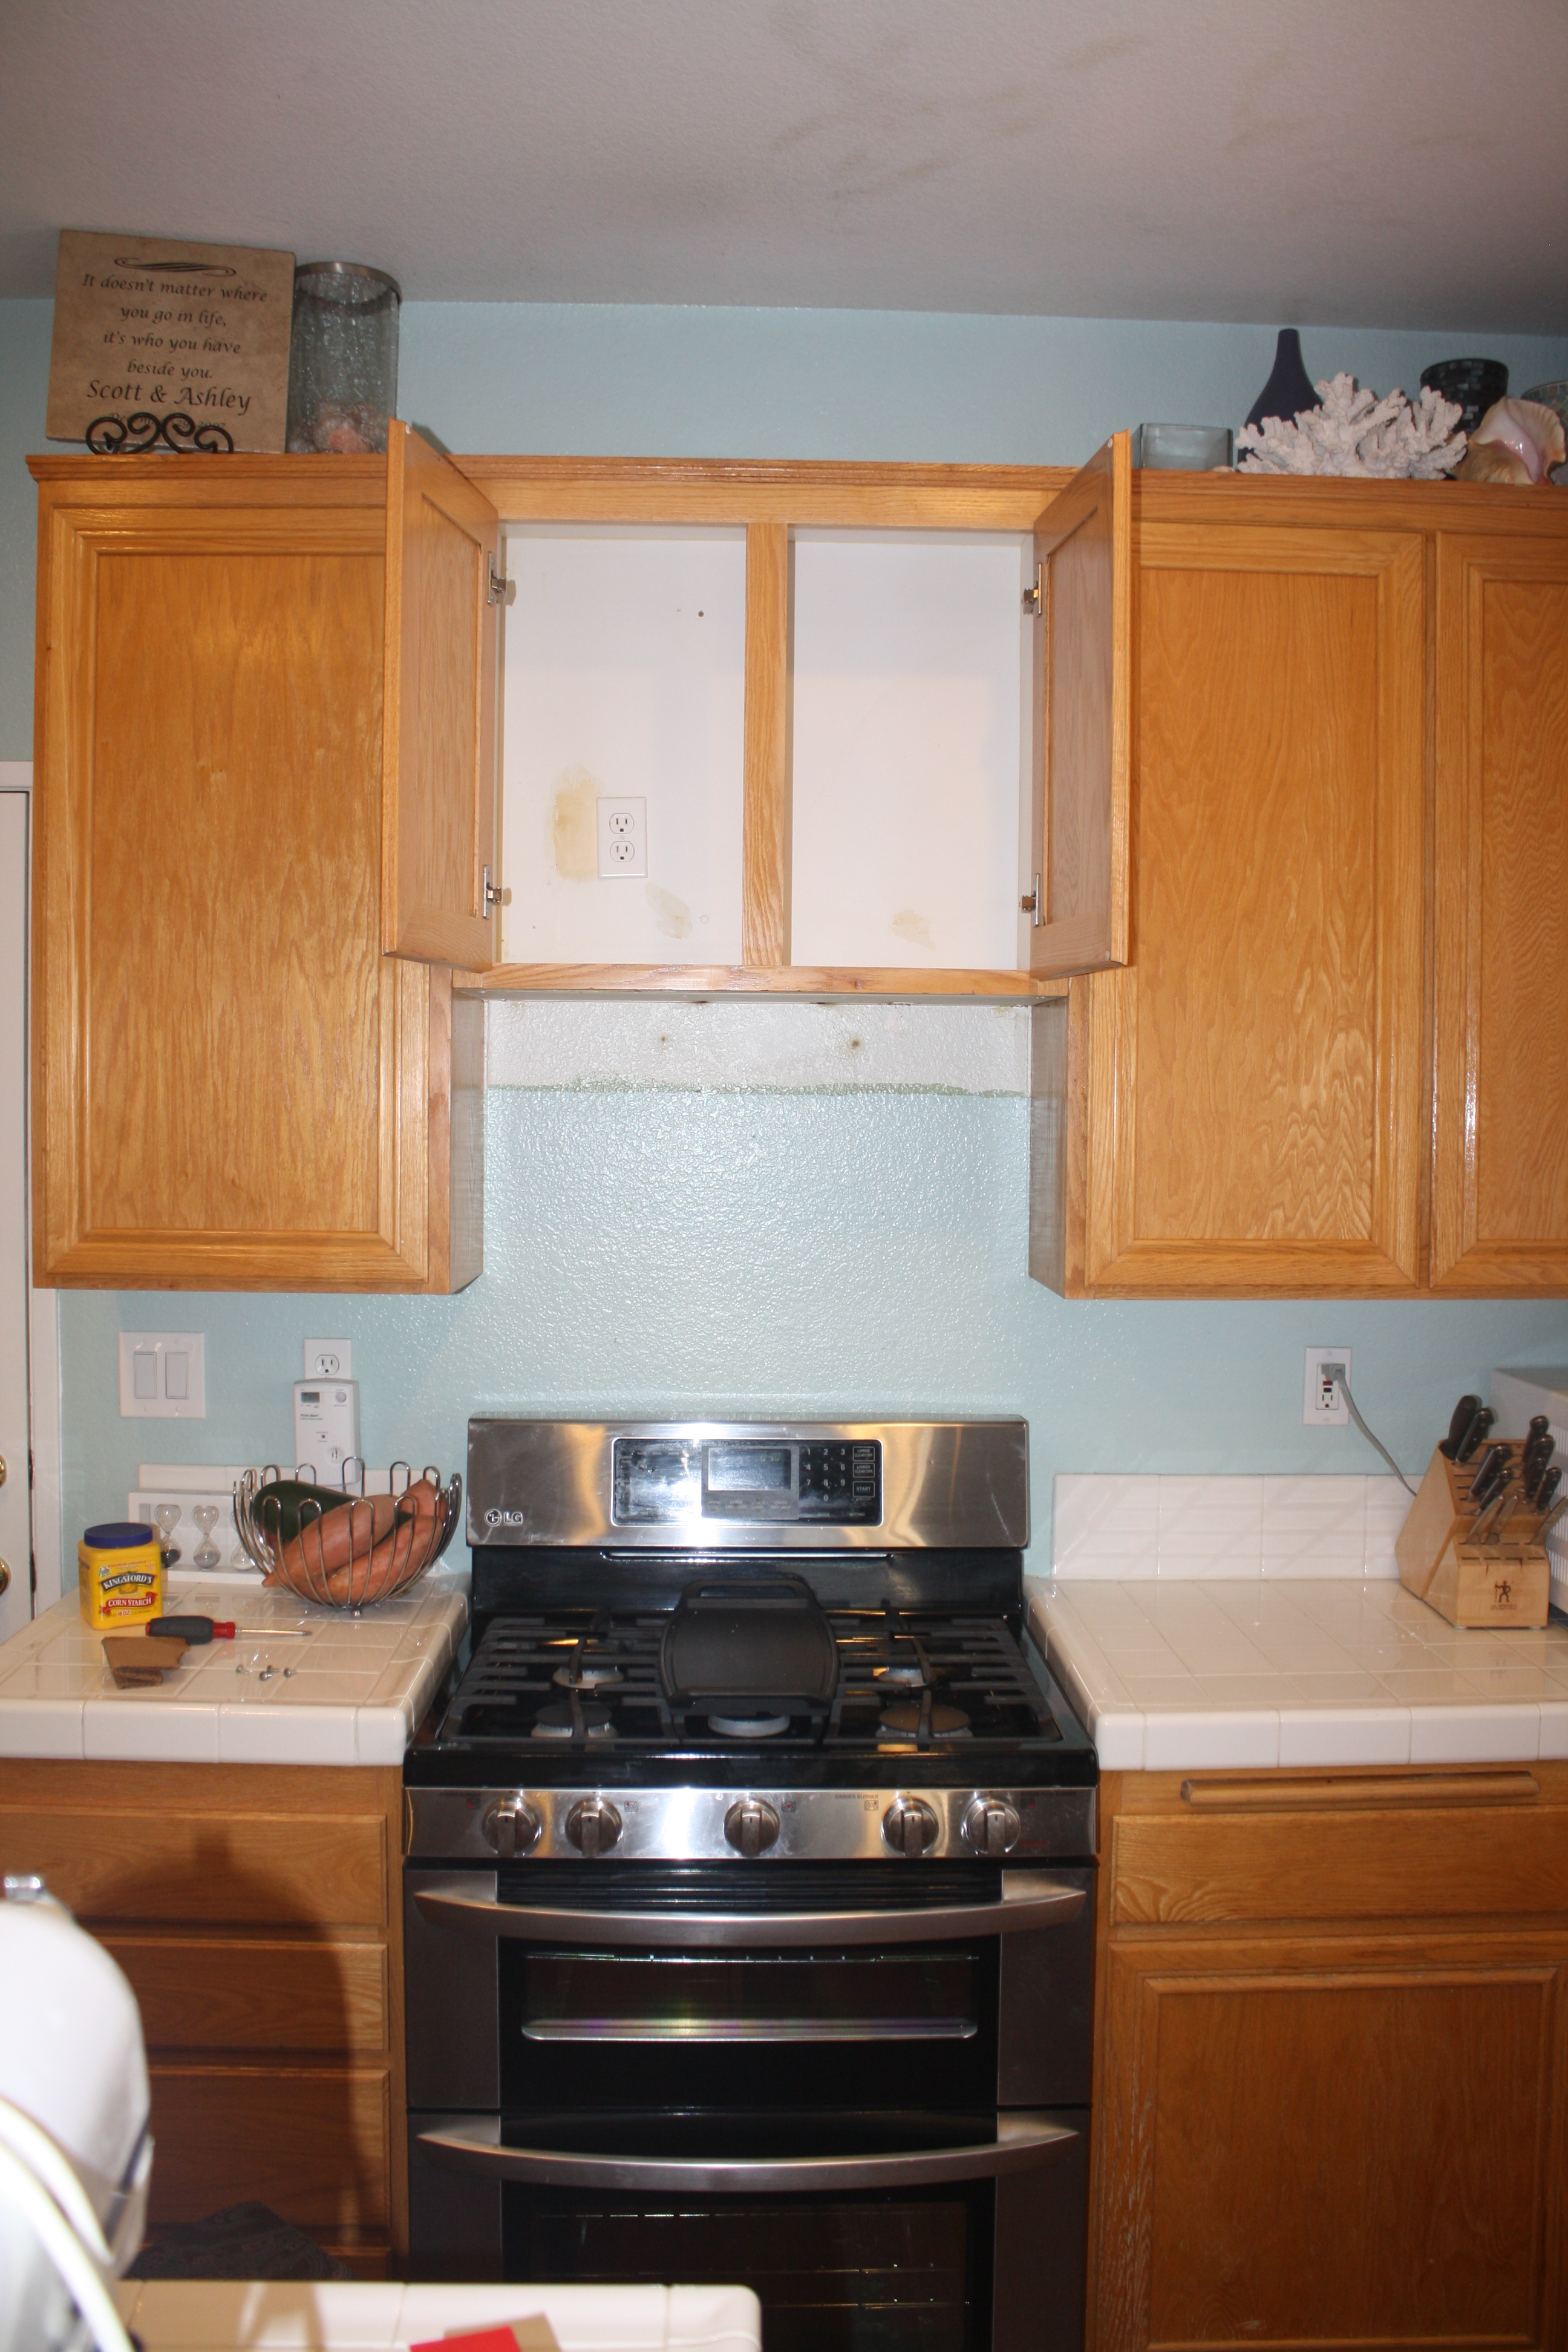
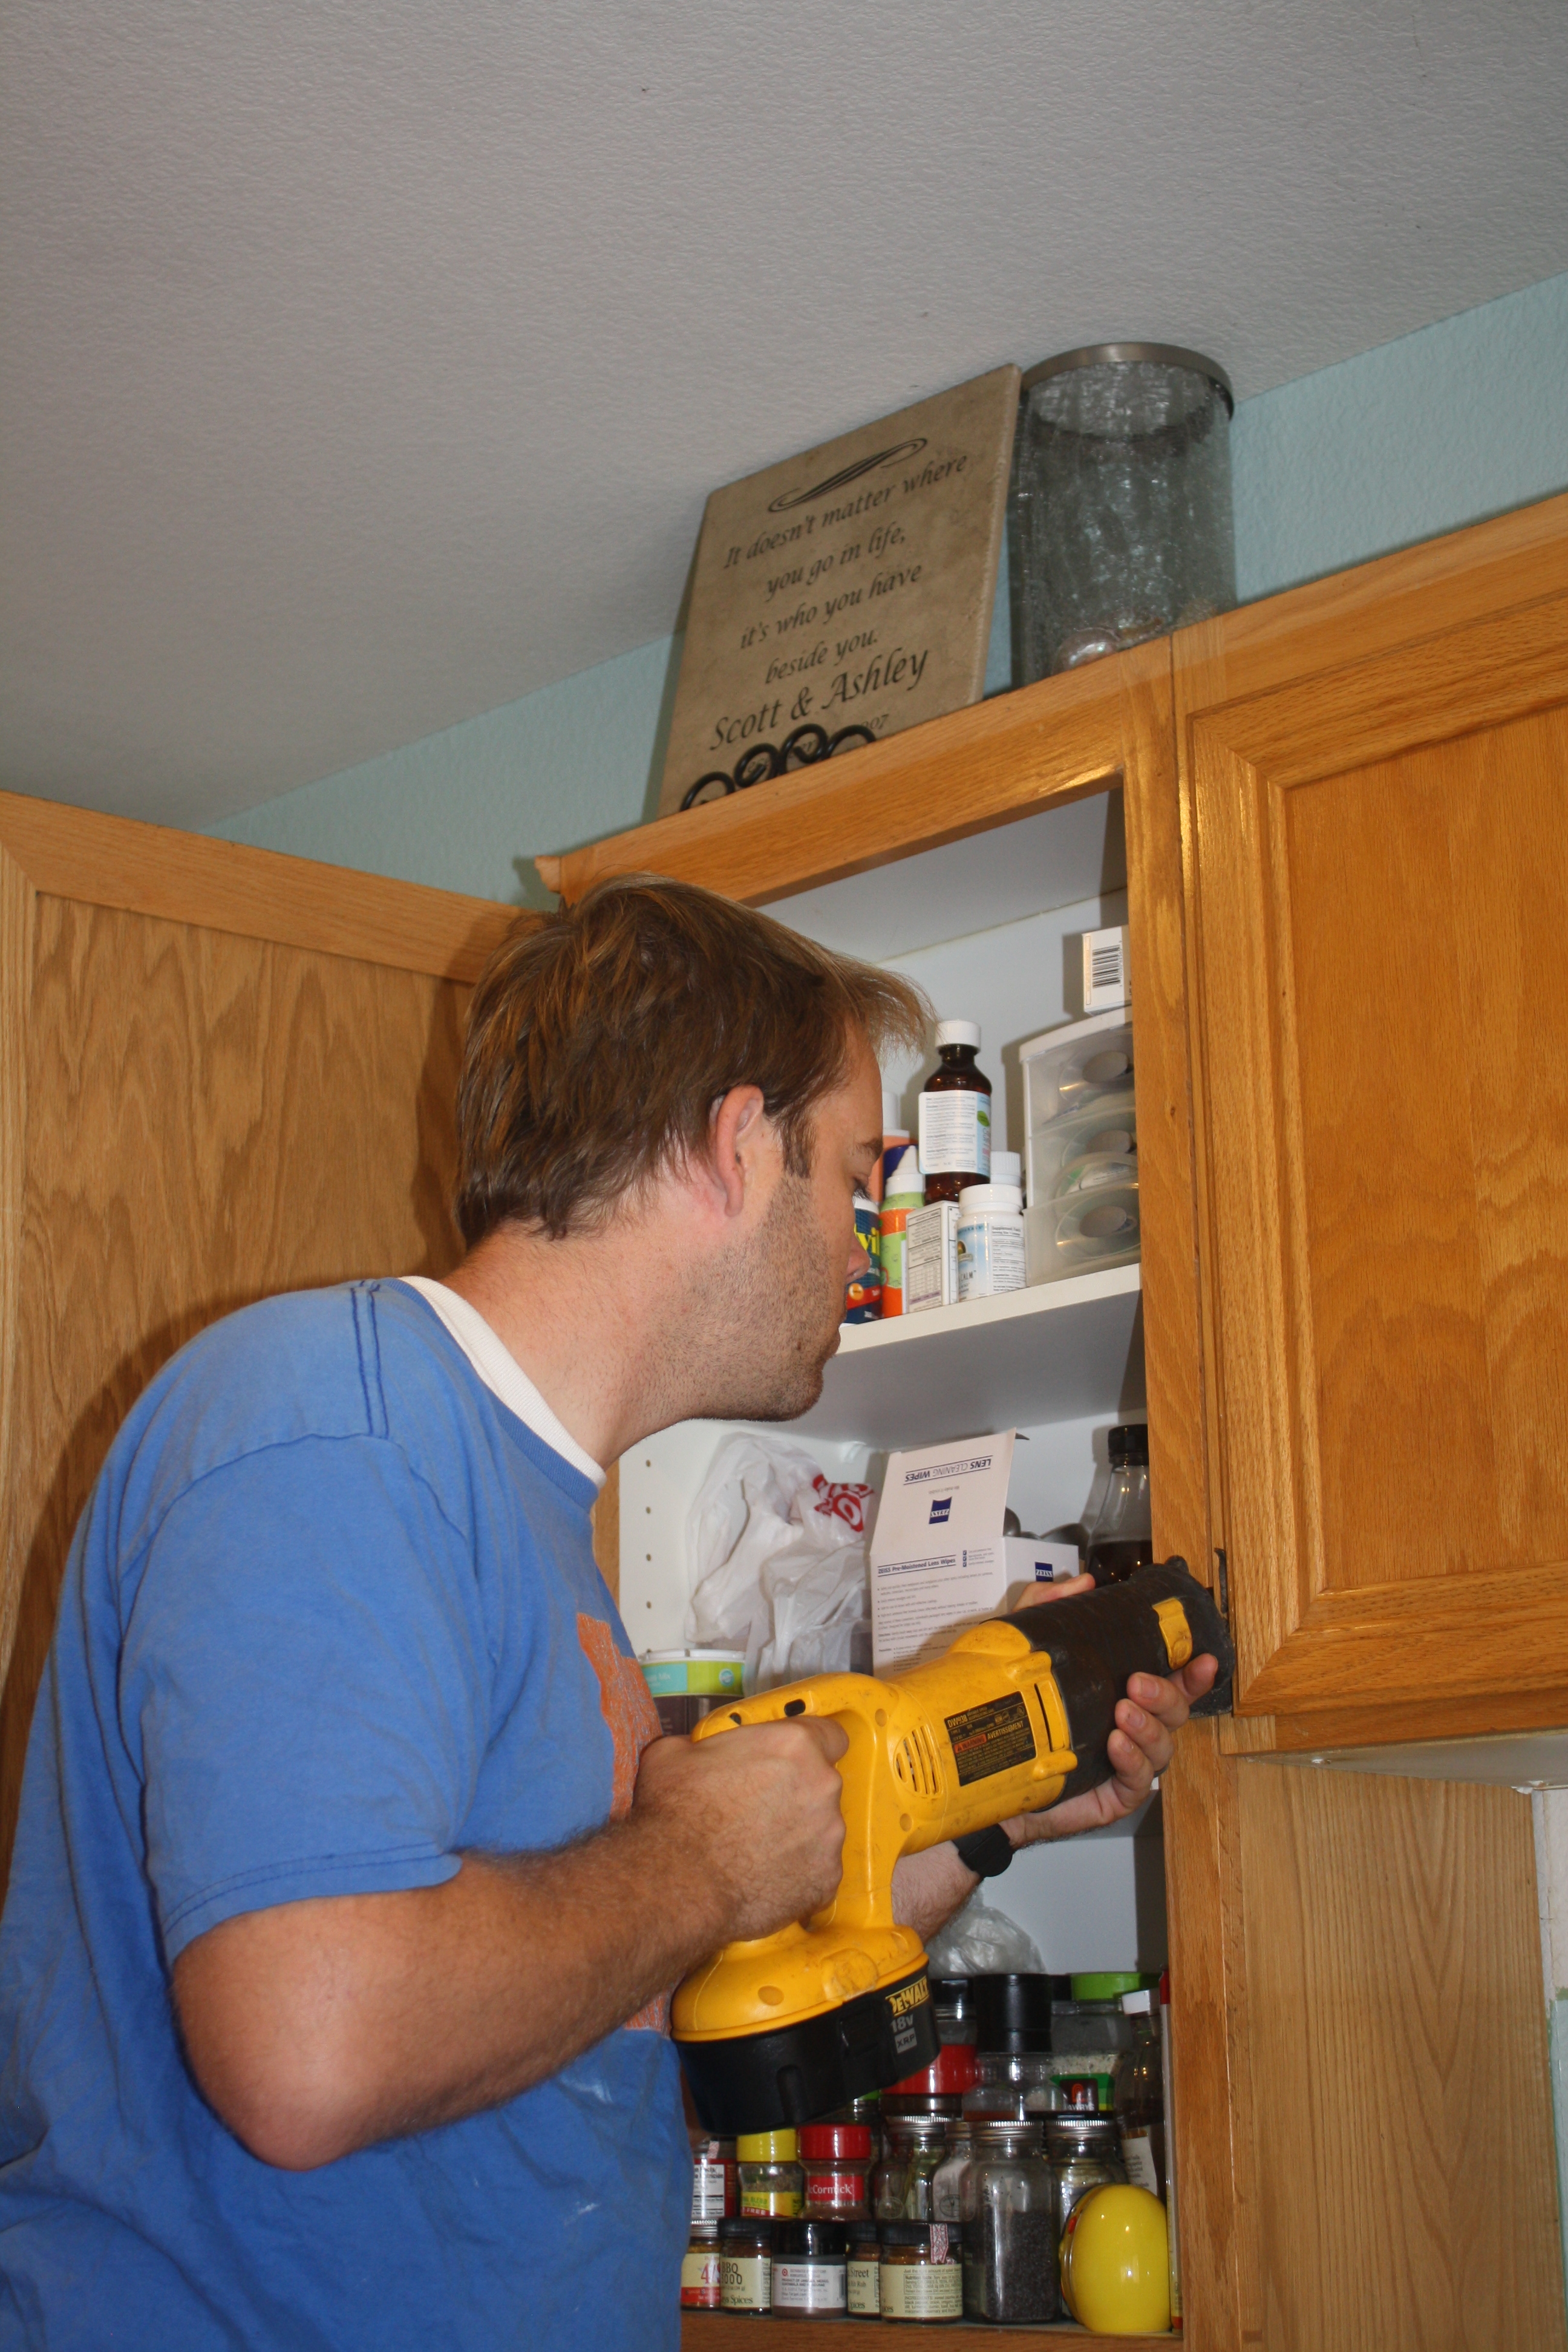
Here is what I was working with. After removing the old light and fan fixture, I started by figuring out what needed to be done and made a mental checklist. There was a crown molding that needed to be removed, there were brads nailed in from either side for support, two screws on the back panel braced the box to a stud in the wall, and the outlet would either need to be moved, or a new hole in the box would need to be cut where the outlet would end up.
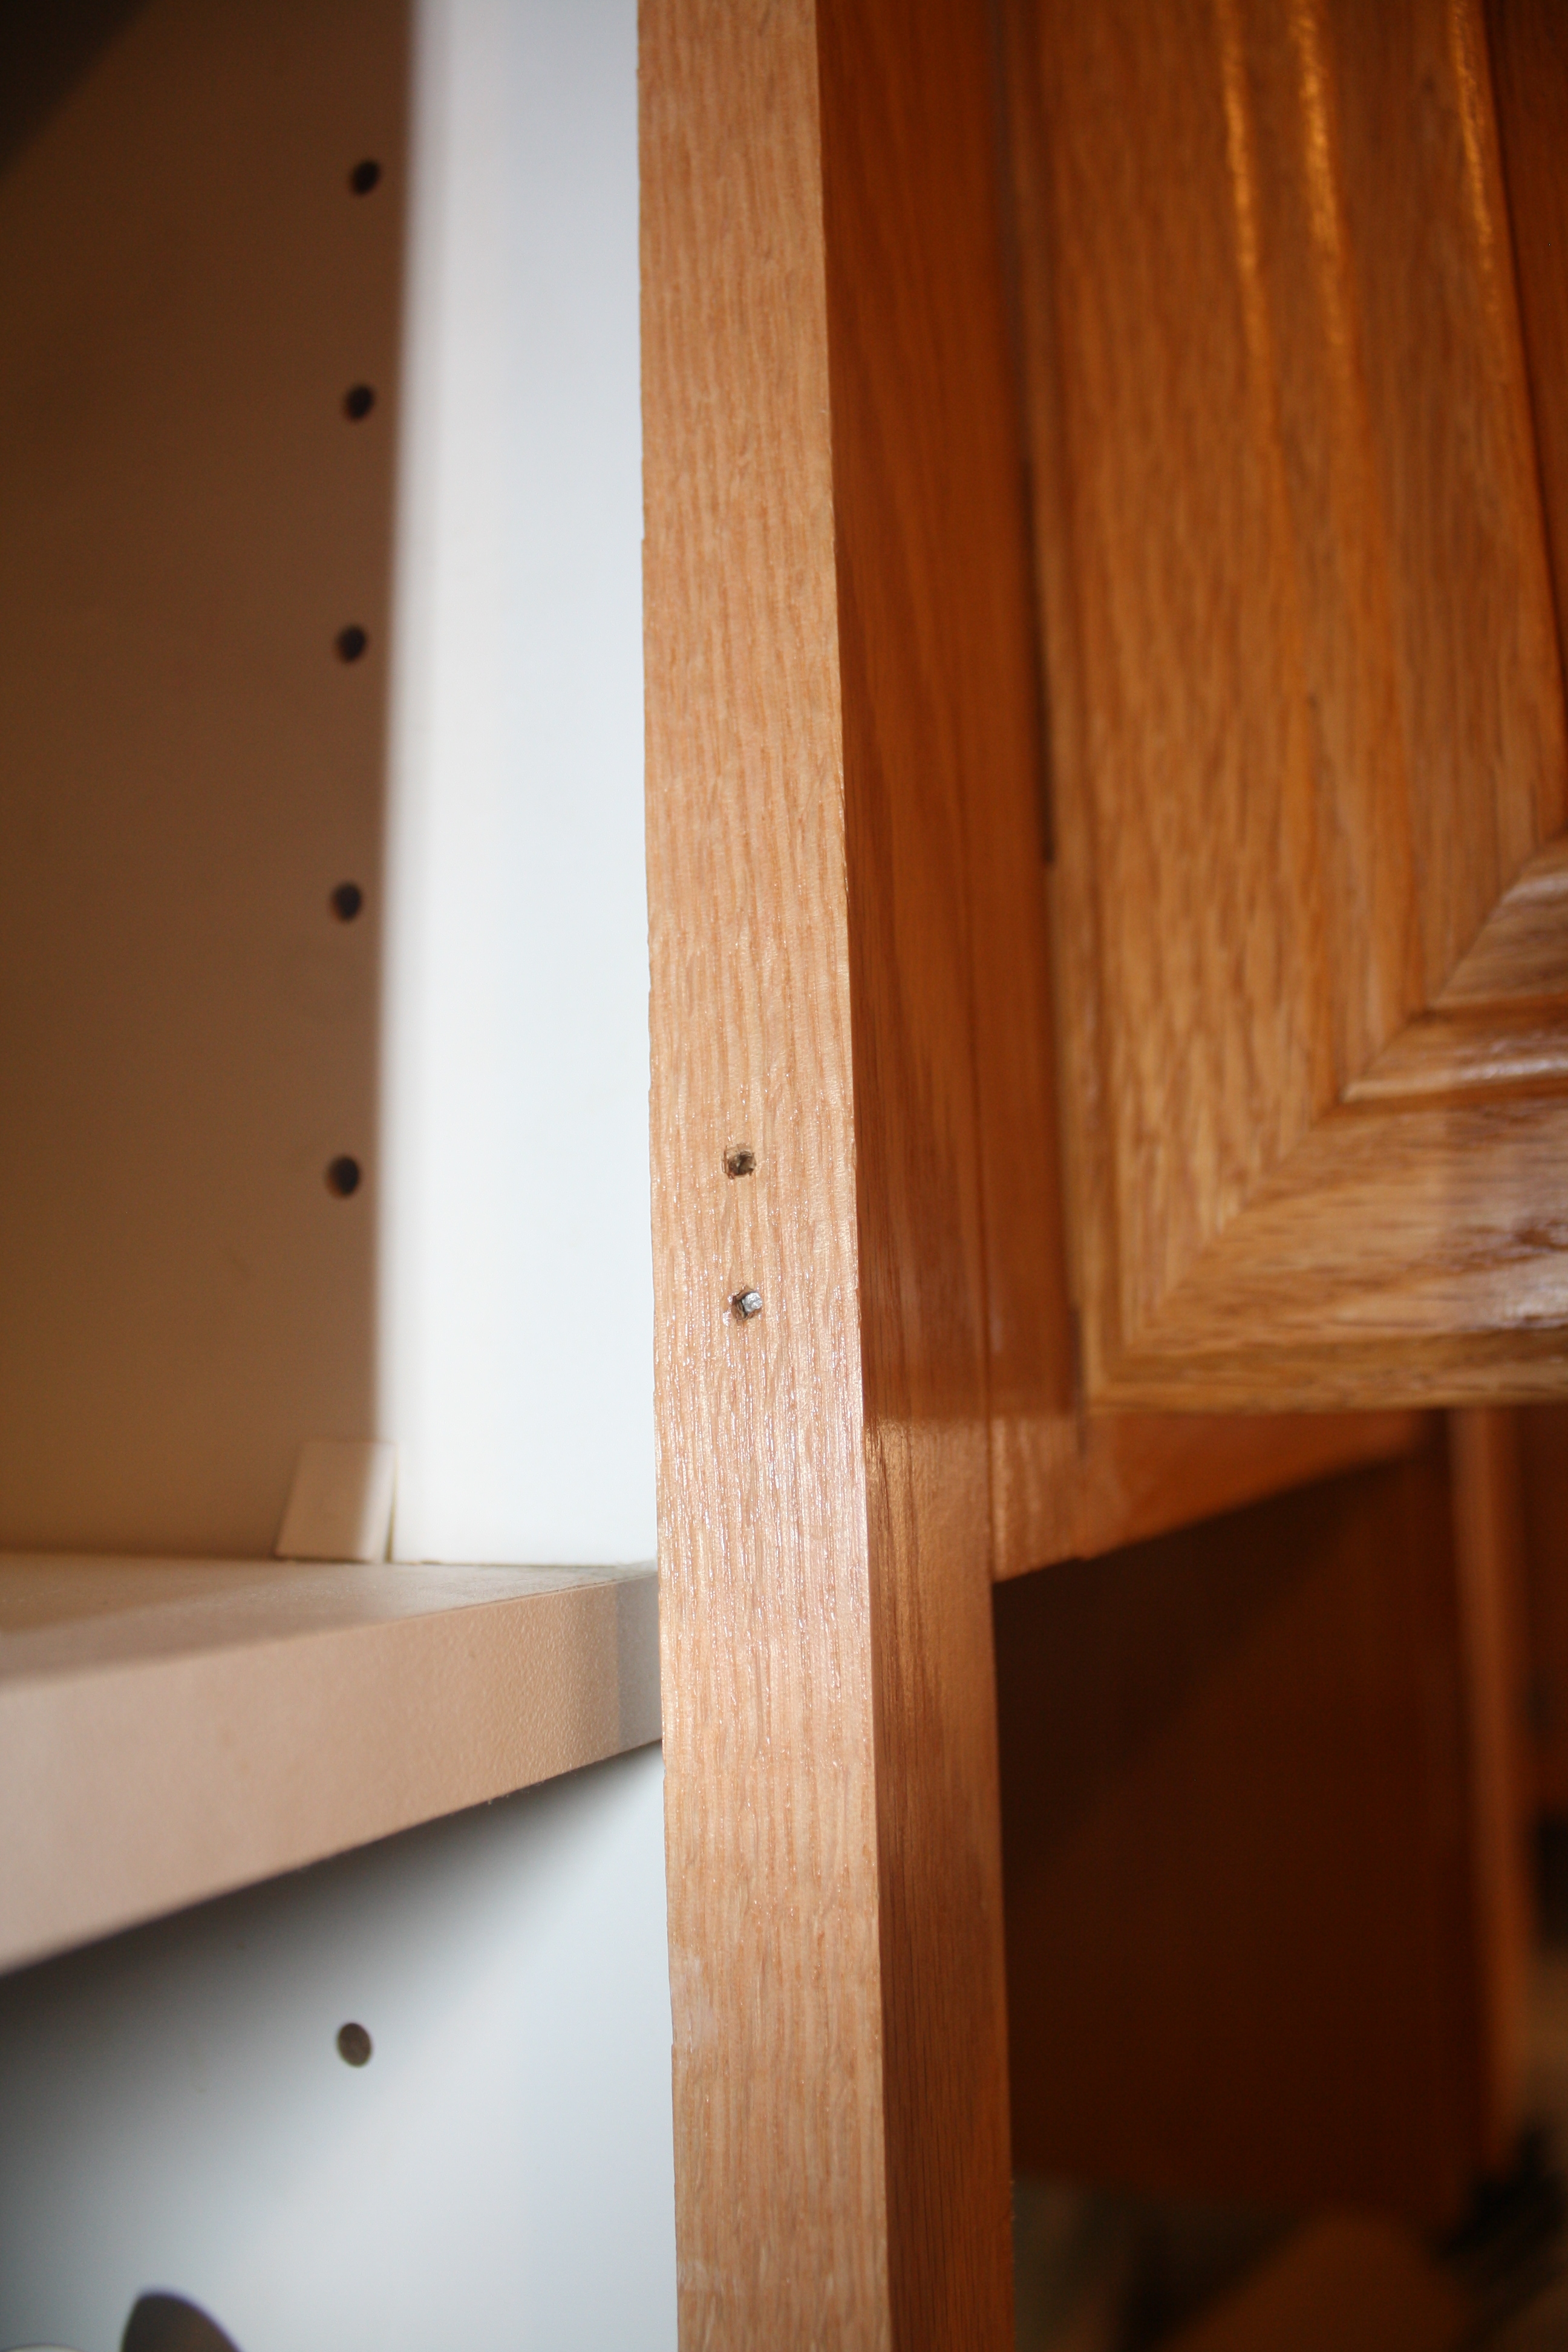
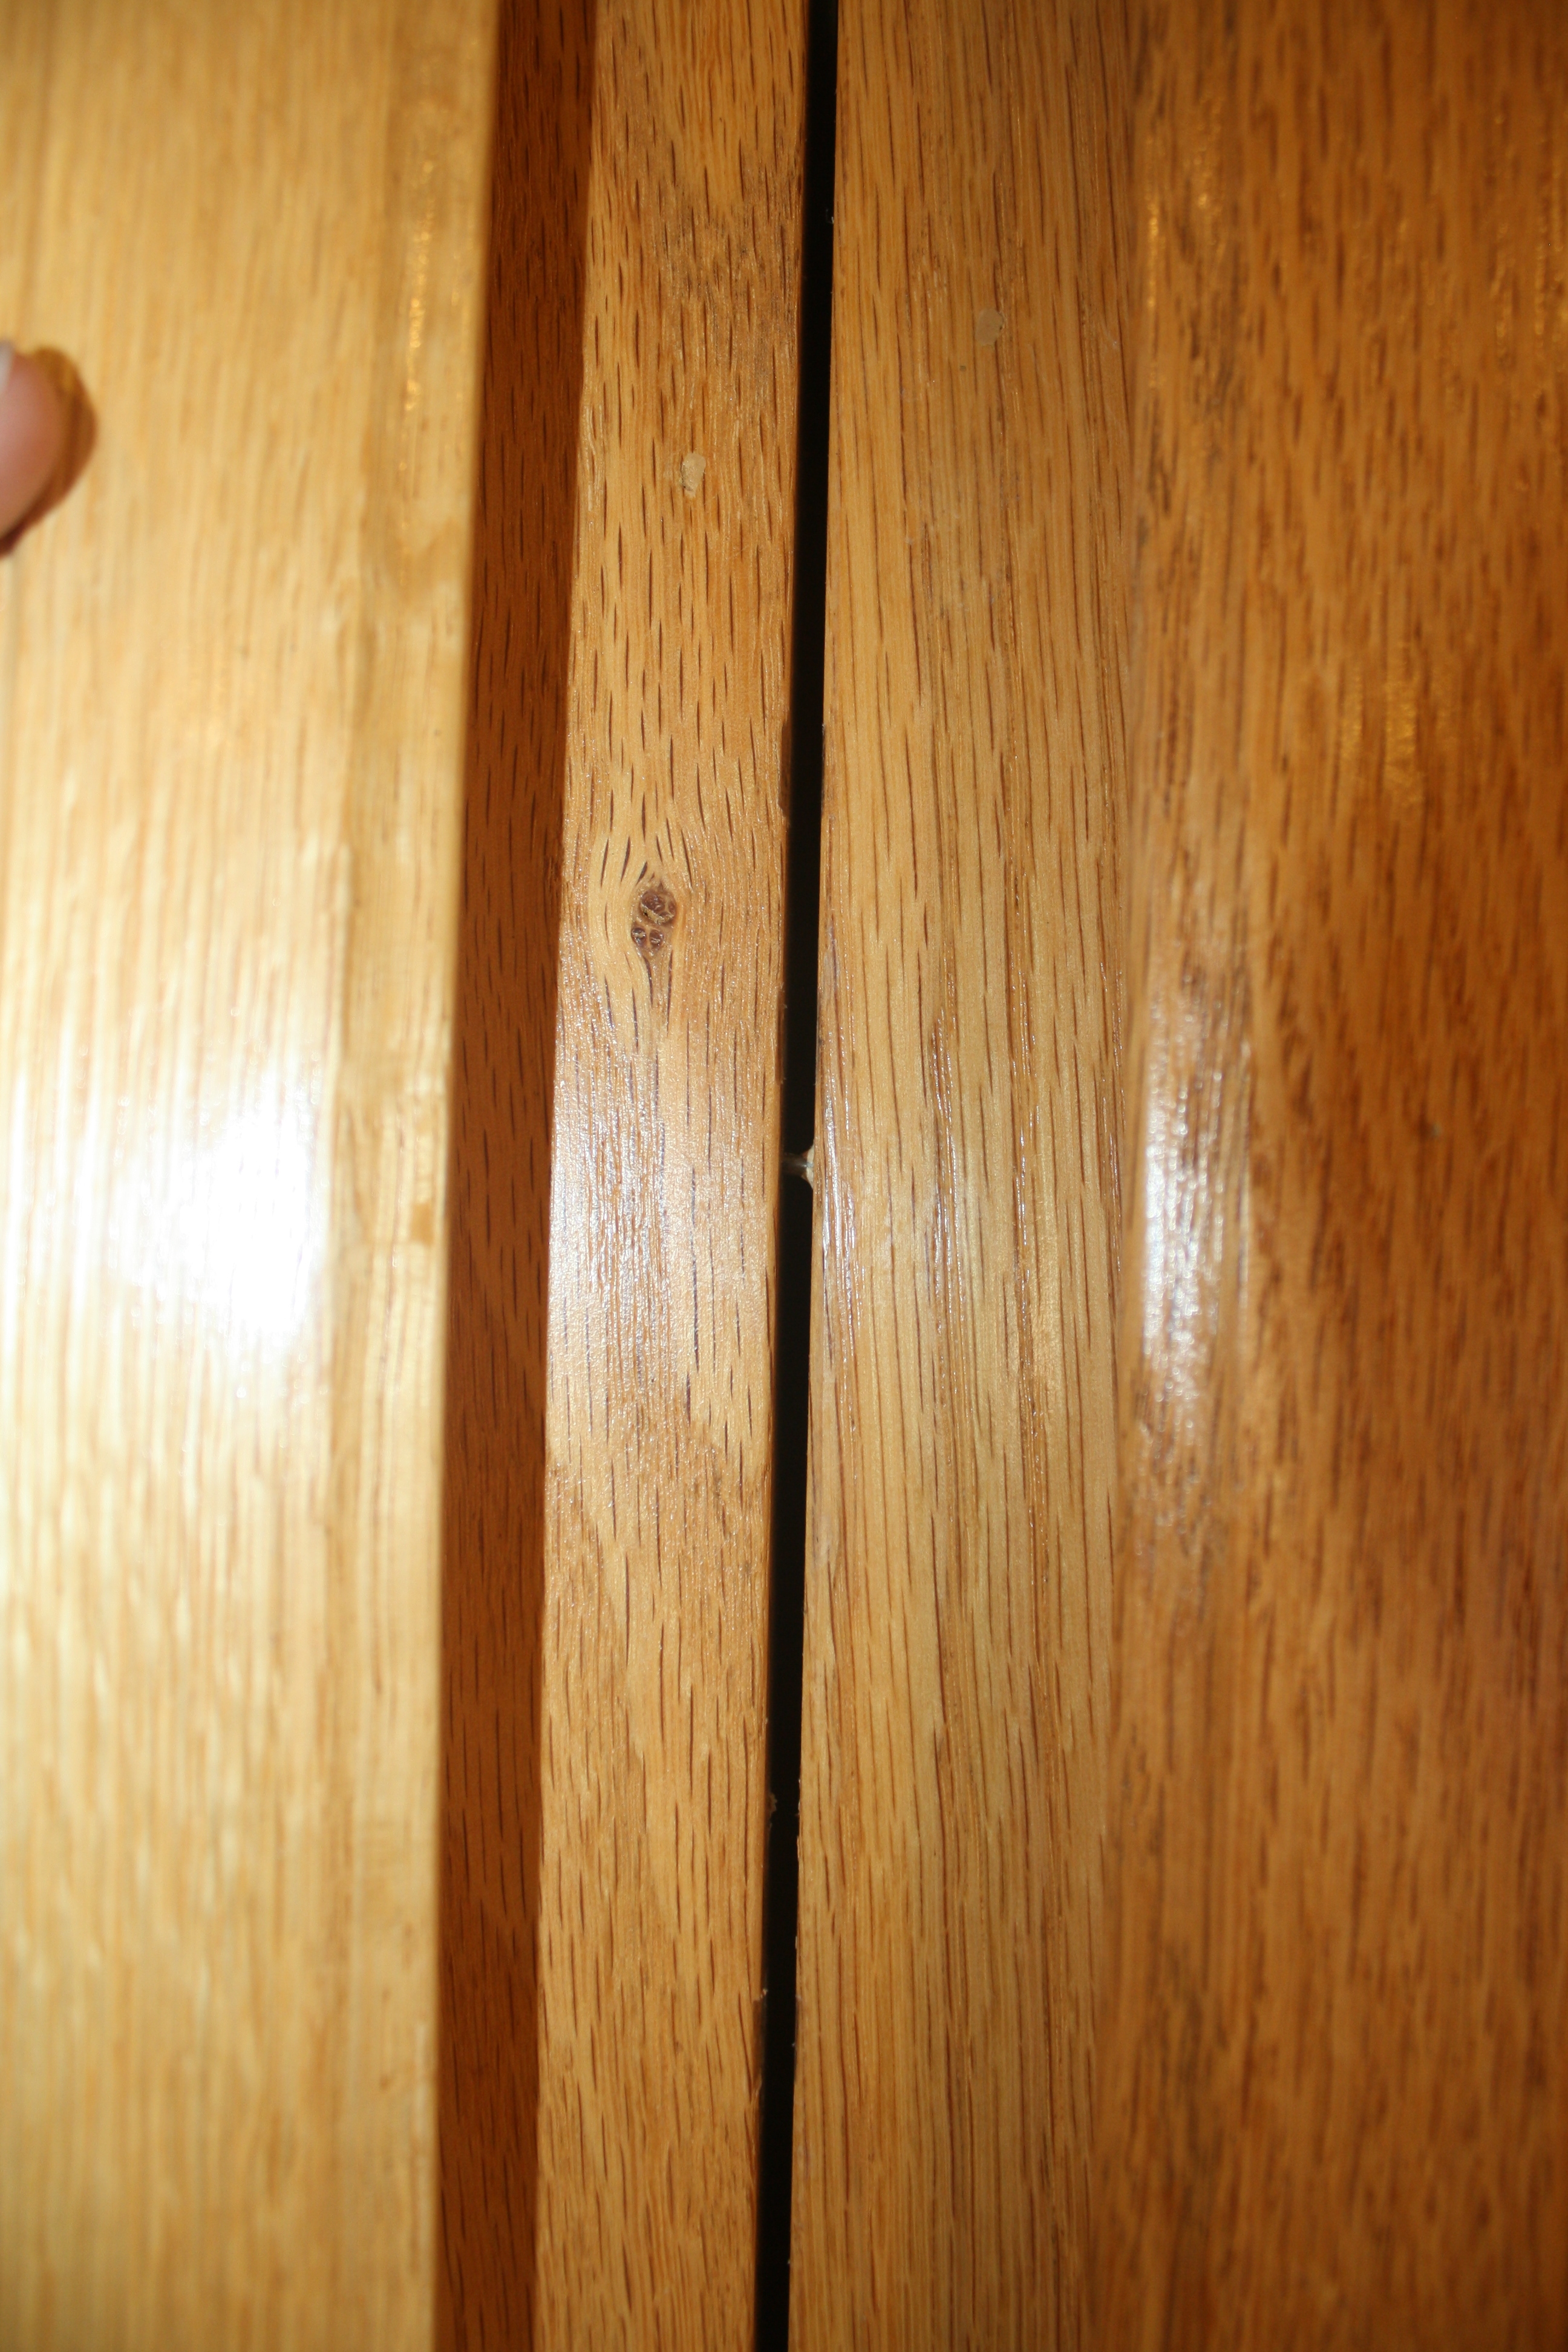
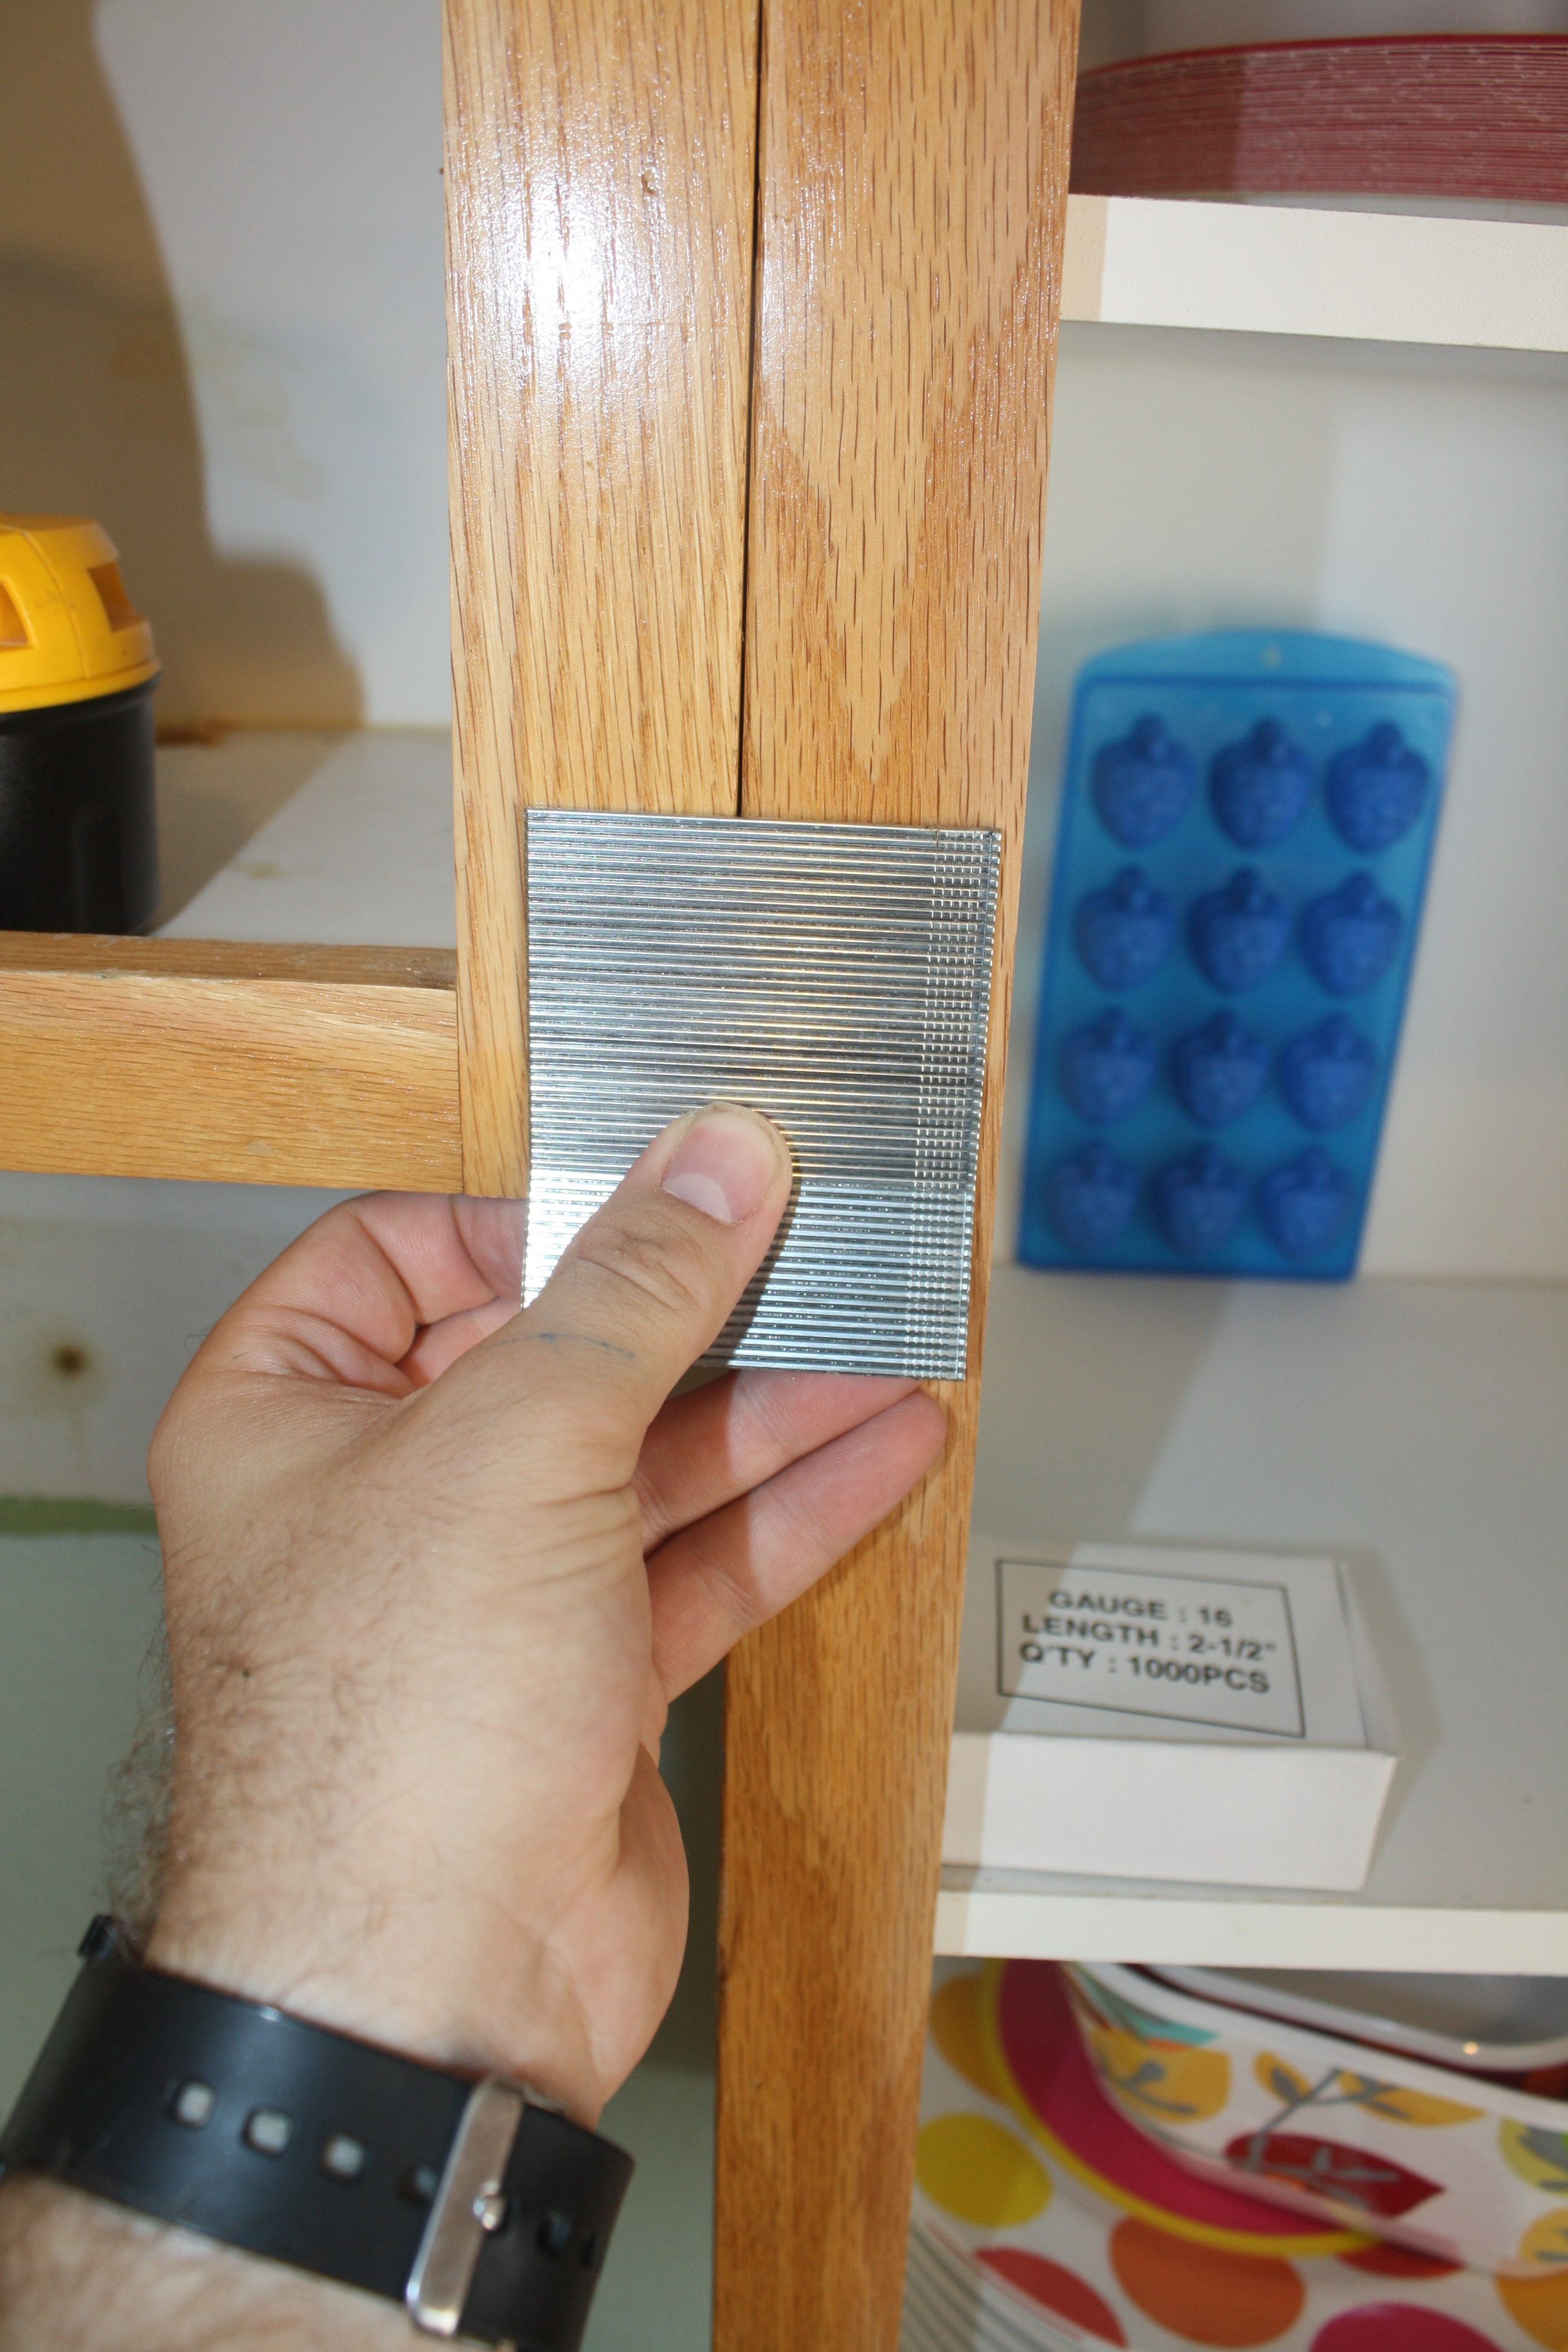
Quick shot of a few of the brads
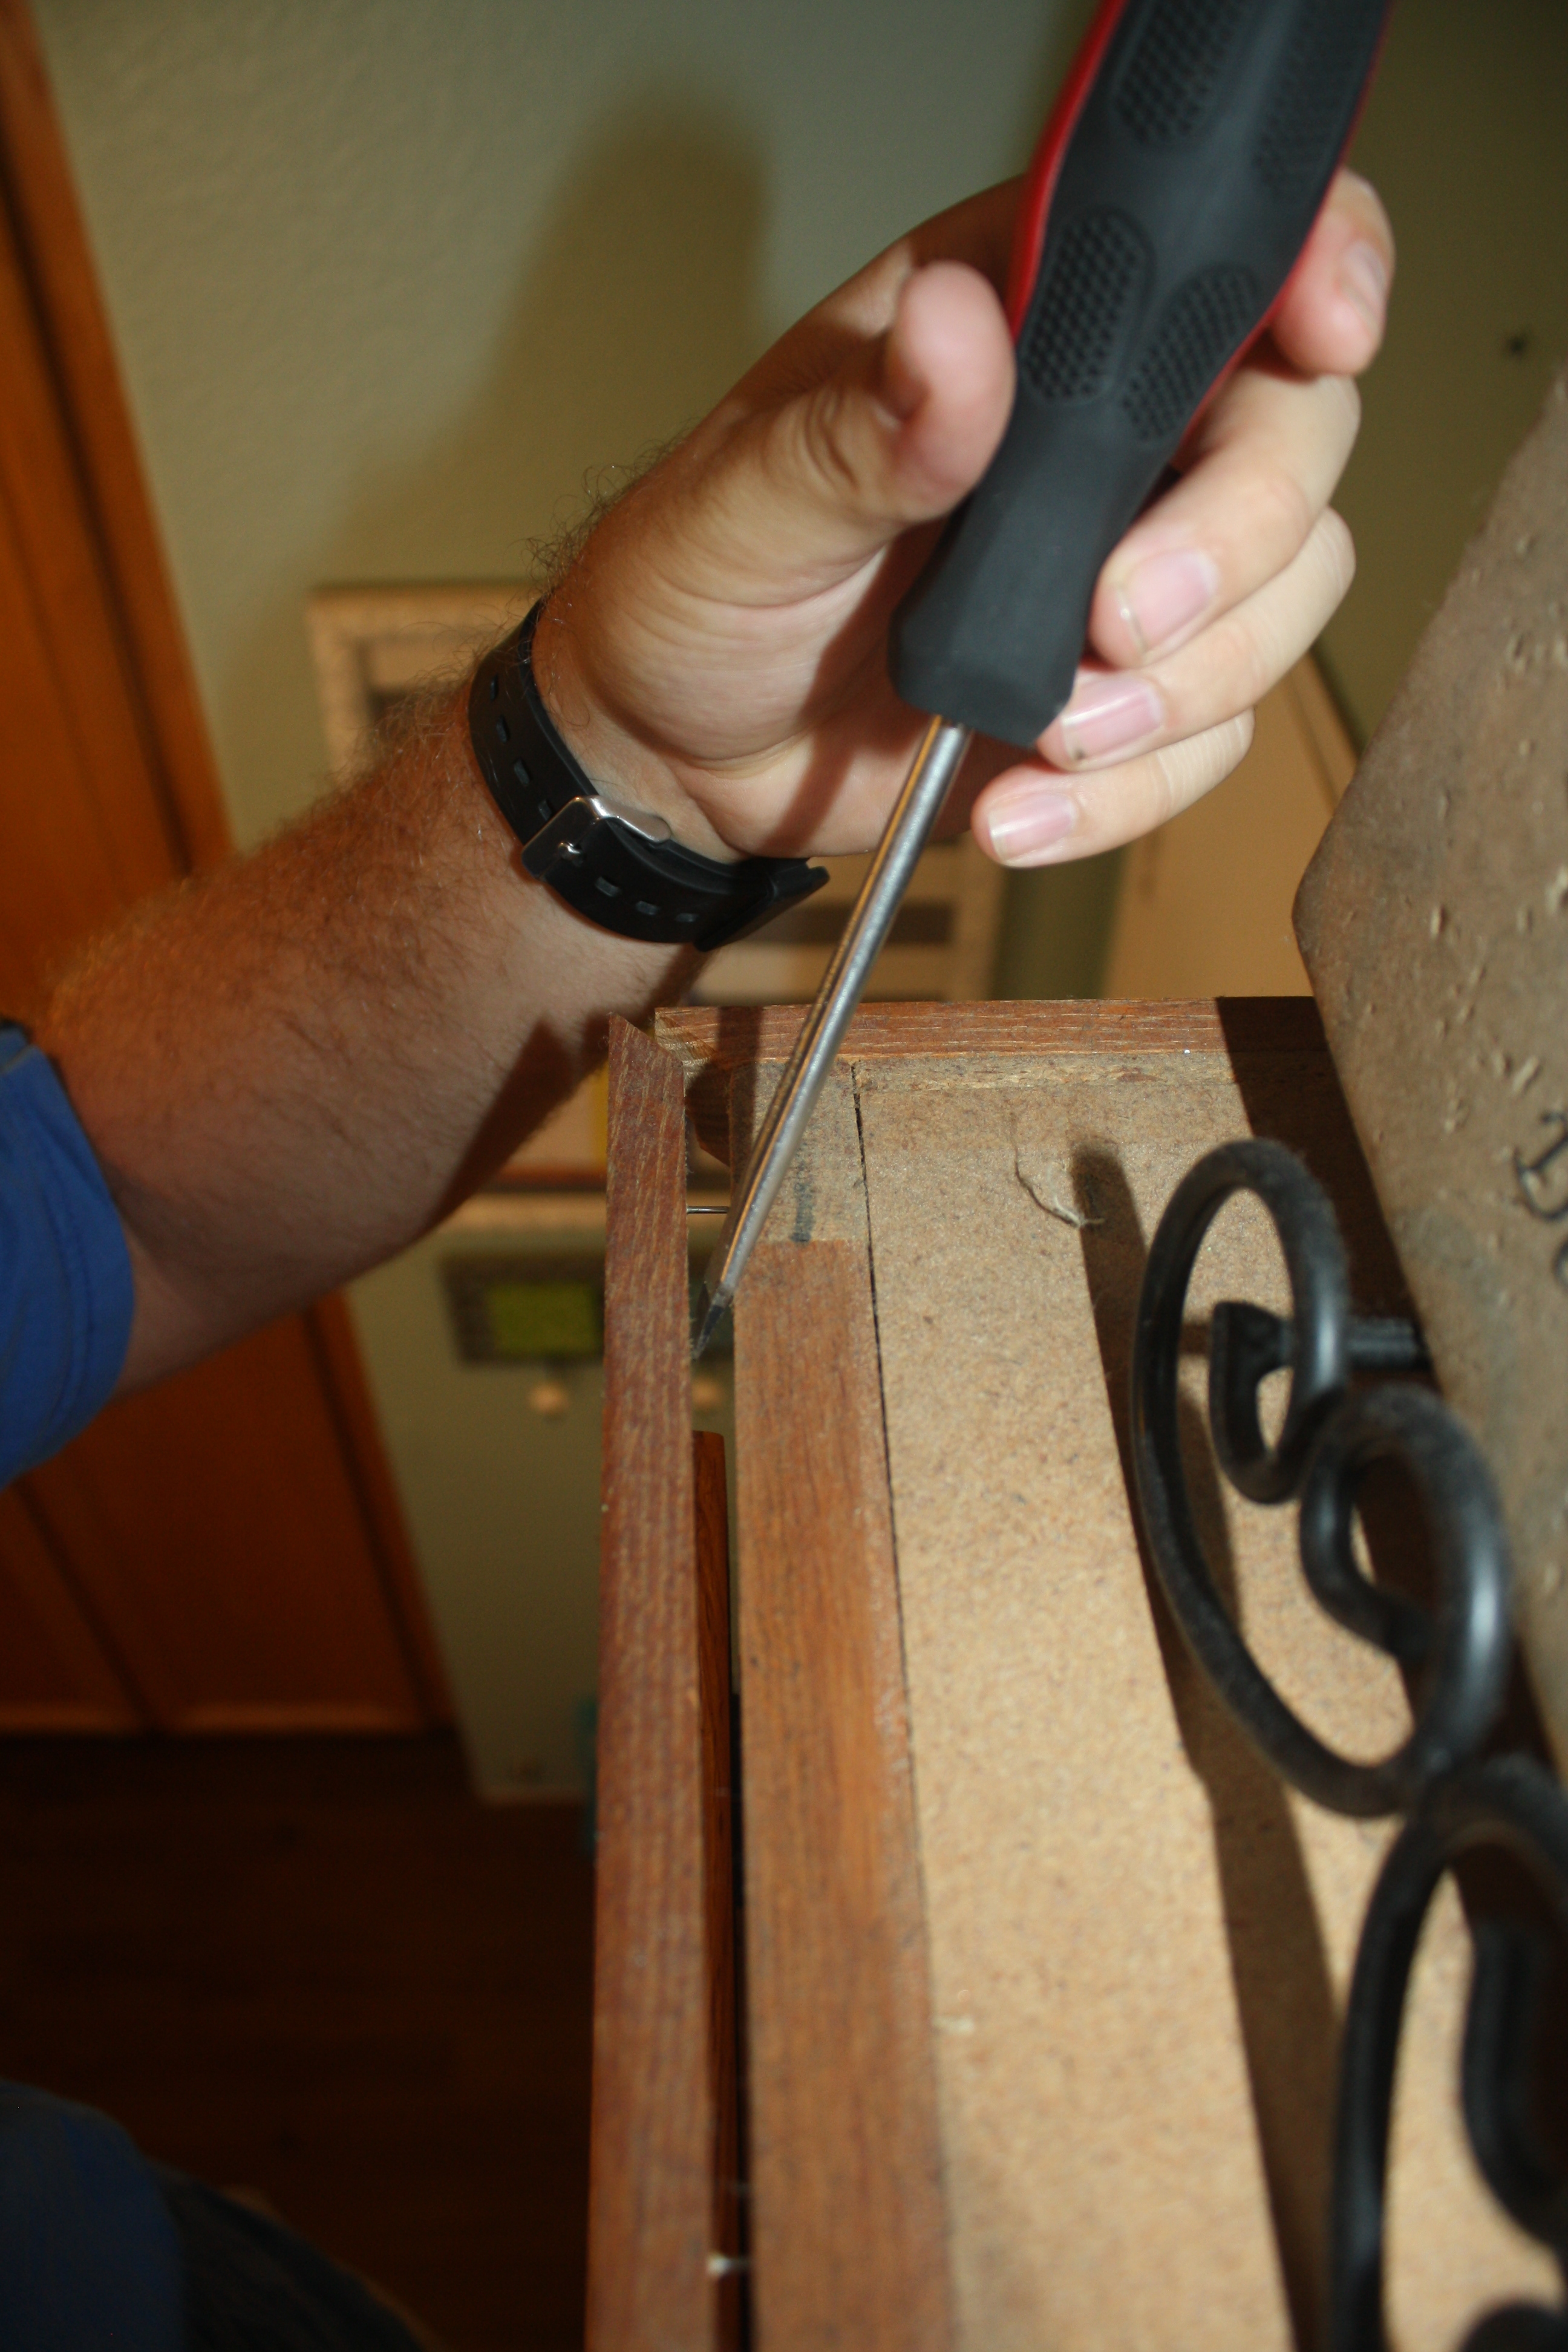
I gently used a flathead screwdriver to separate the crown molding and pulled it off
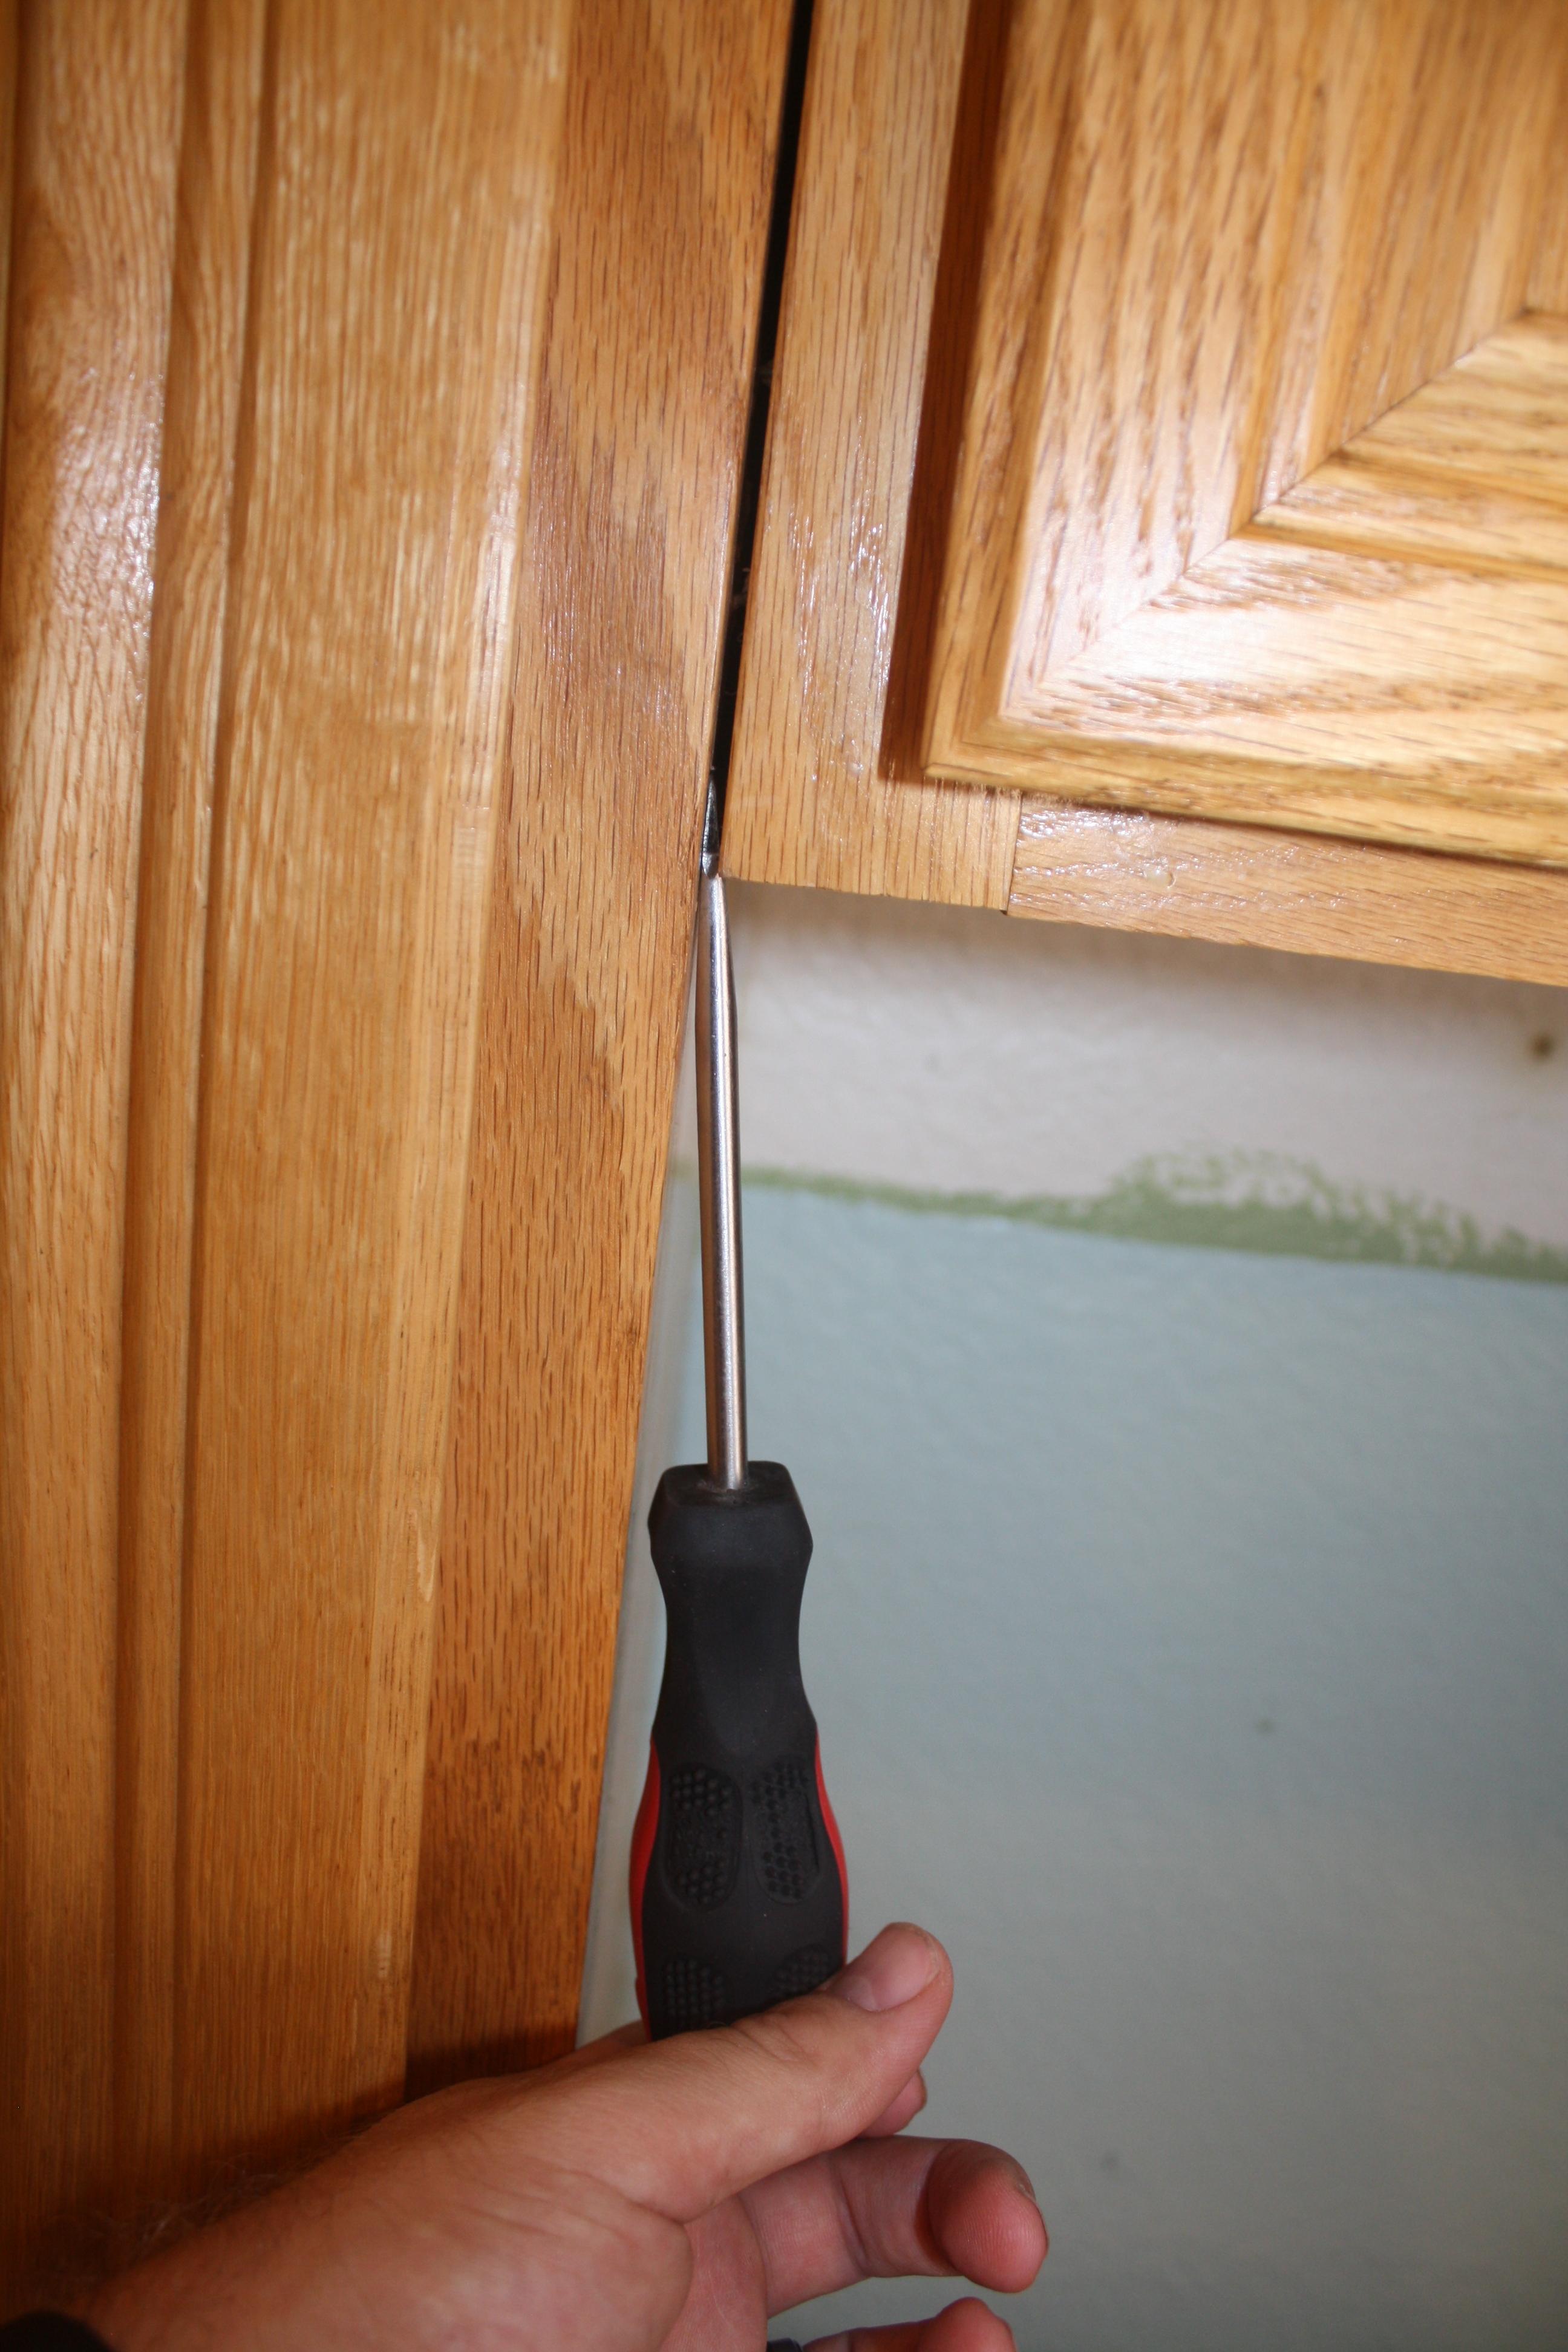
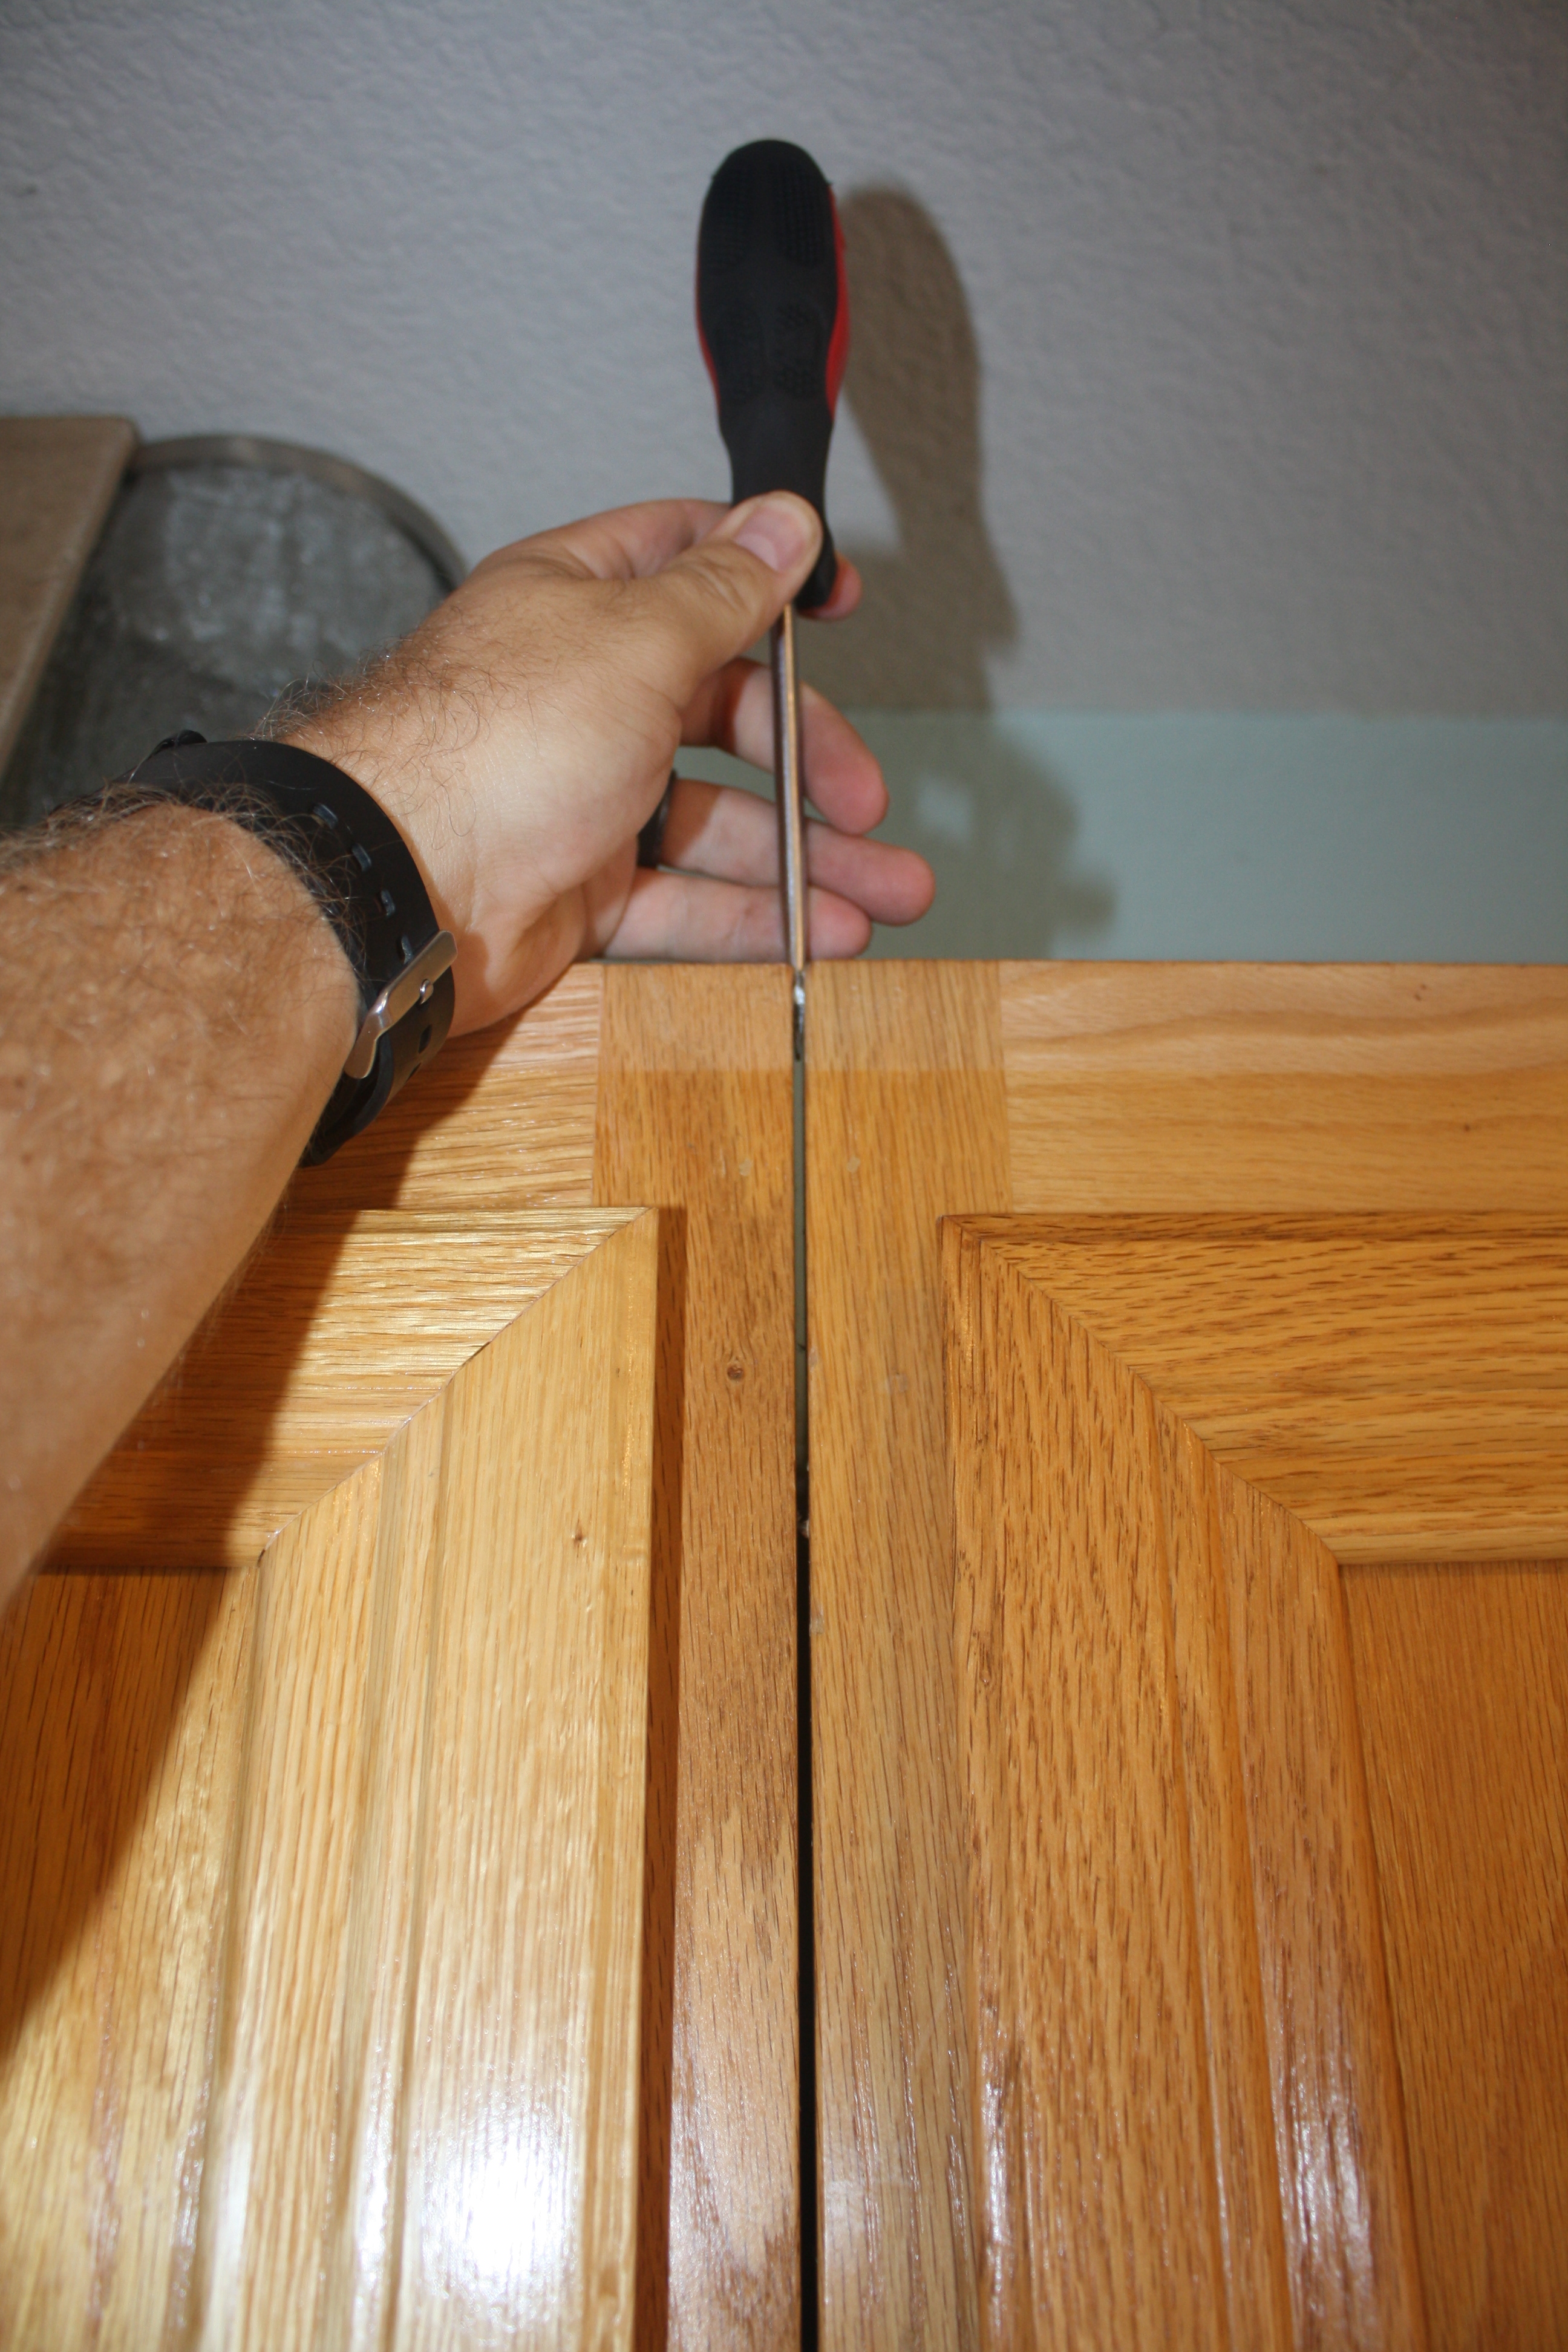
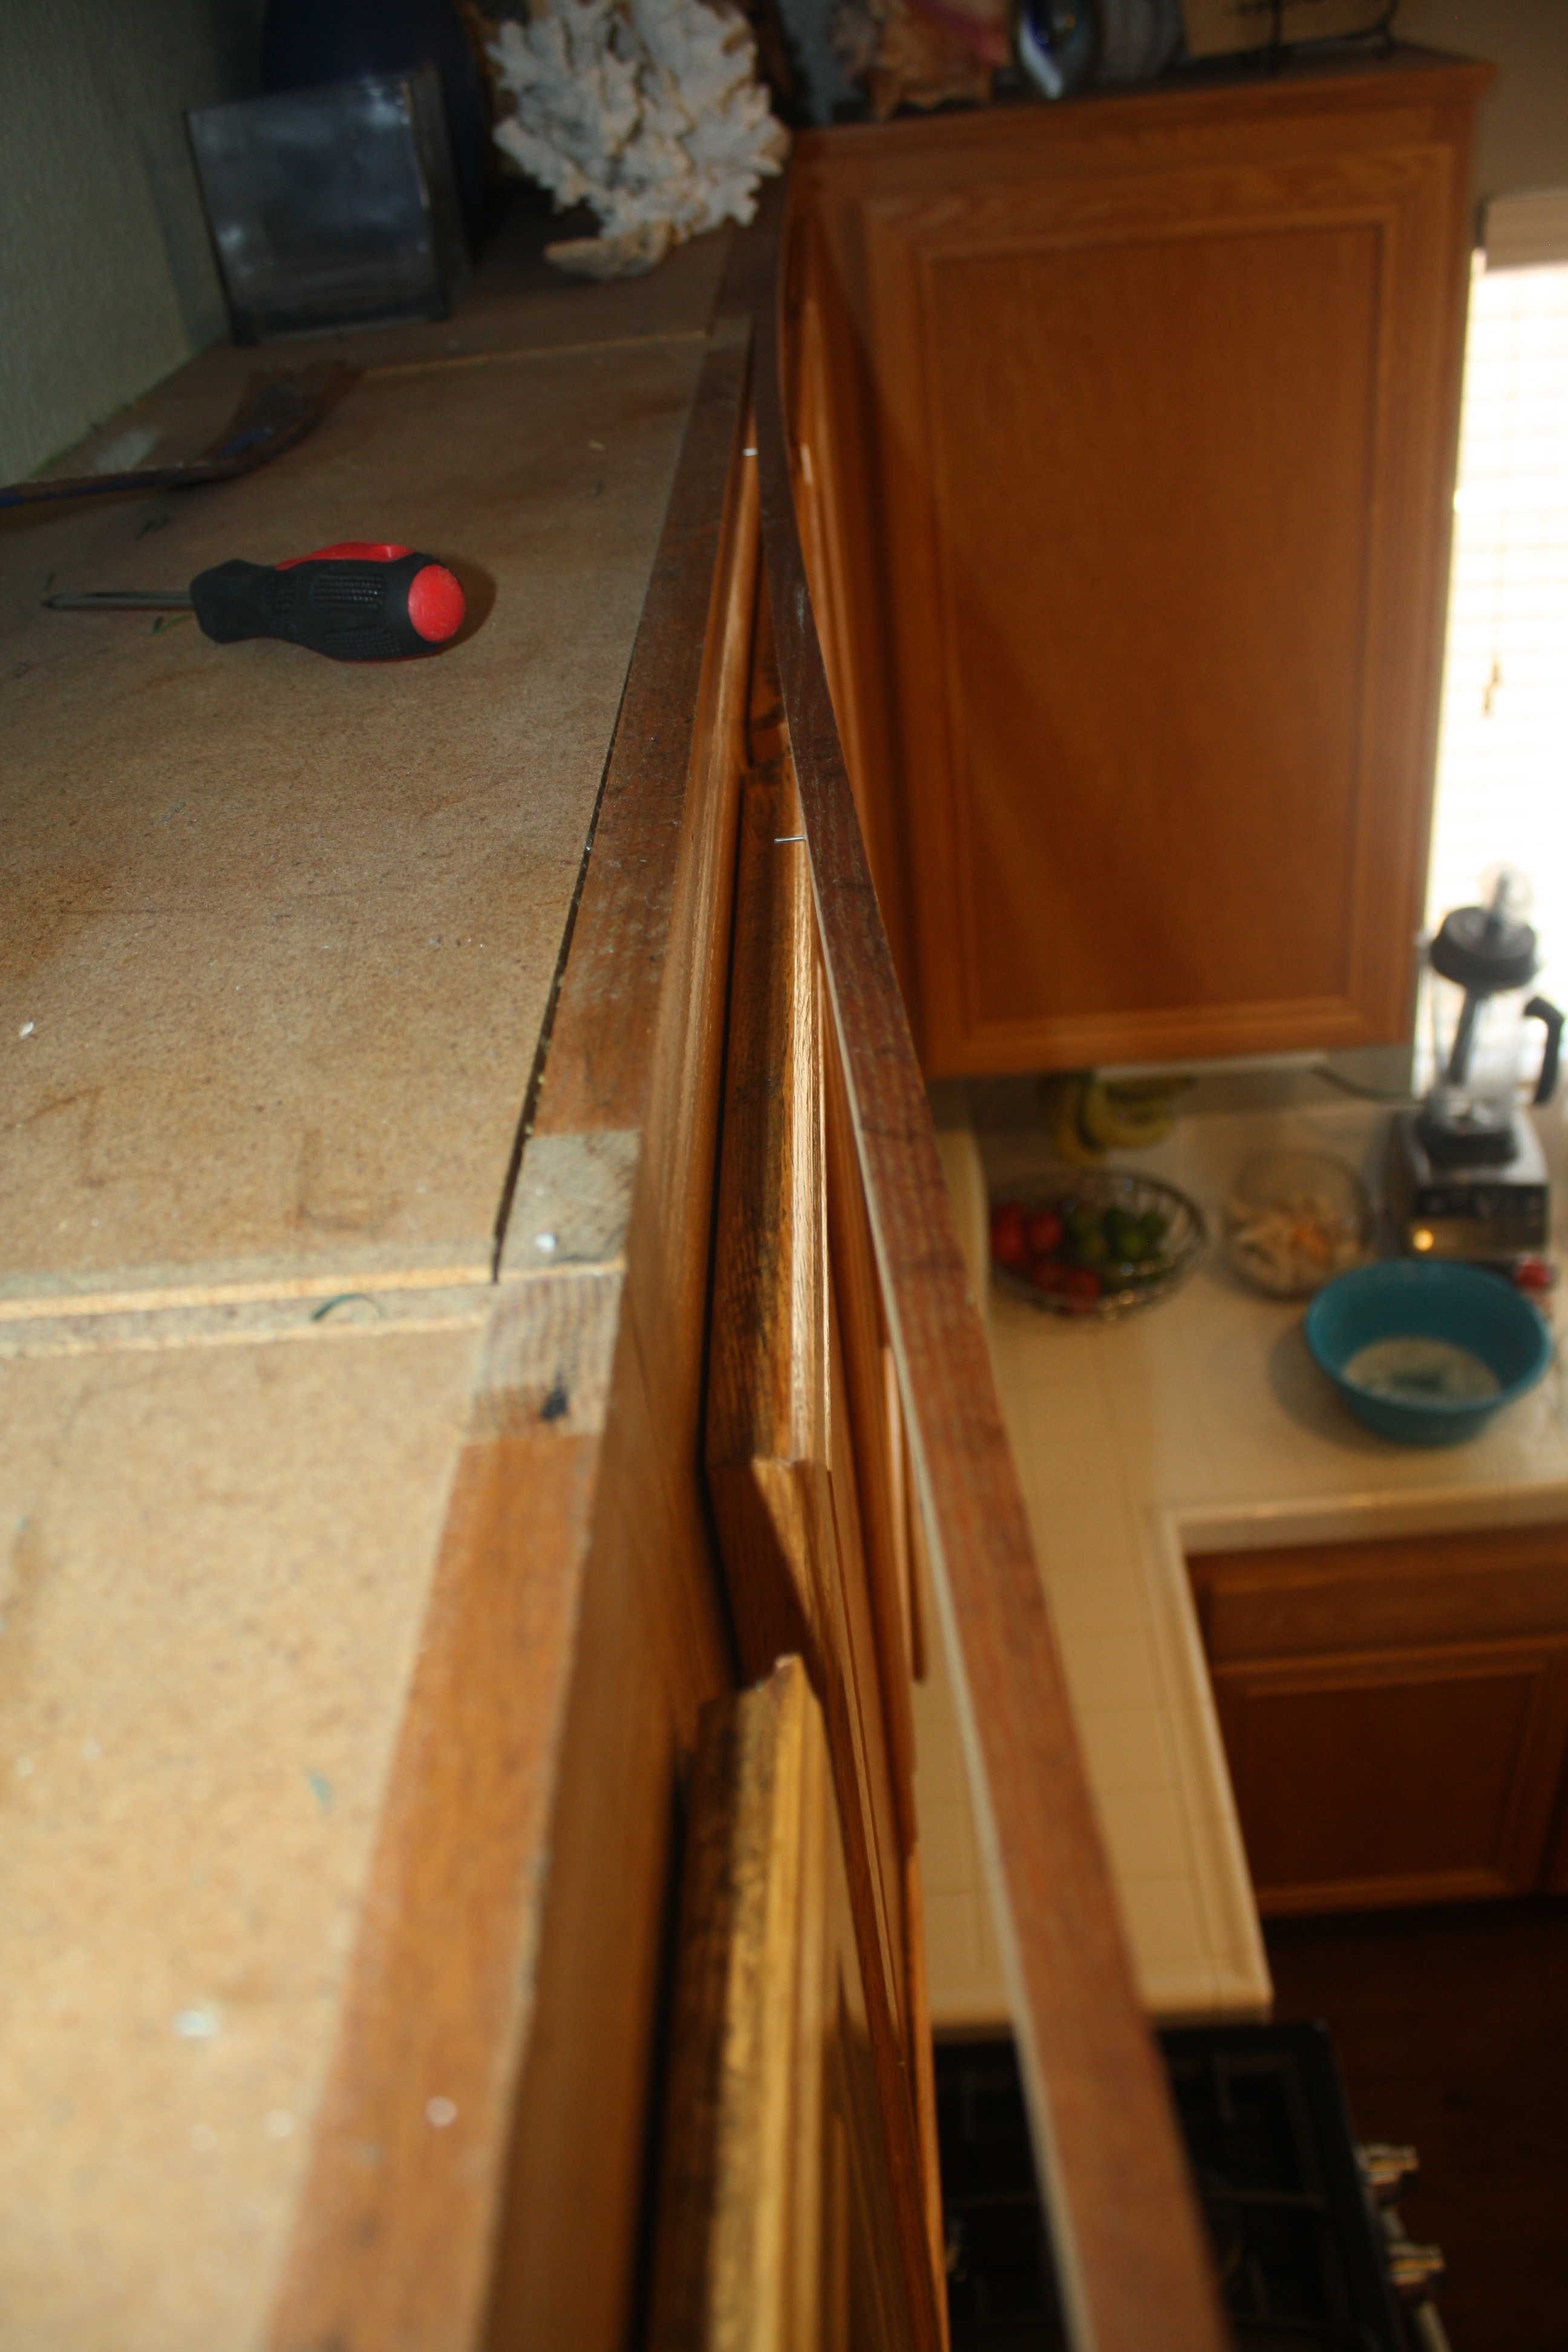
In order to remove the box from the wall, the brads needed to either be pushed through, pulled out, or cut. I decided to just cut them. I had to pry apart the adjacent boxes in order to get the metal cutting saws-all blade to the brads, so as gently as I could, I pried the boxes apart using the screw driver again.
Kind of hard to see, but that is what I need to cut
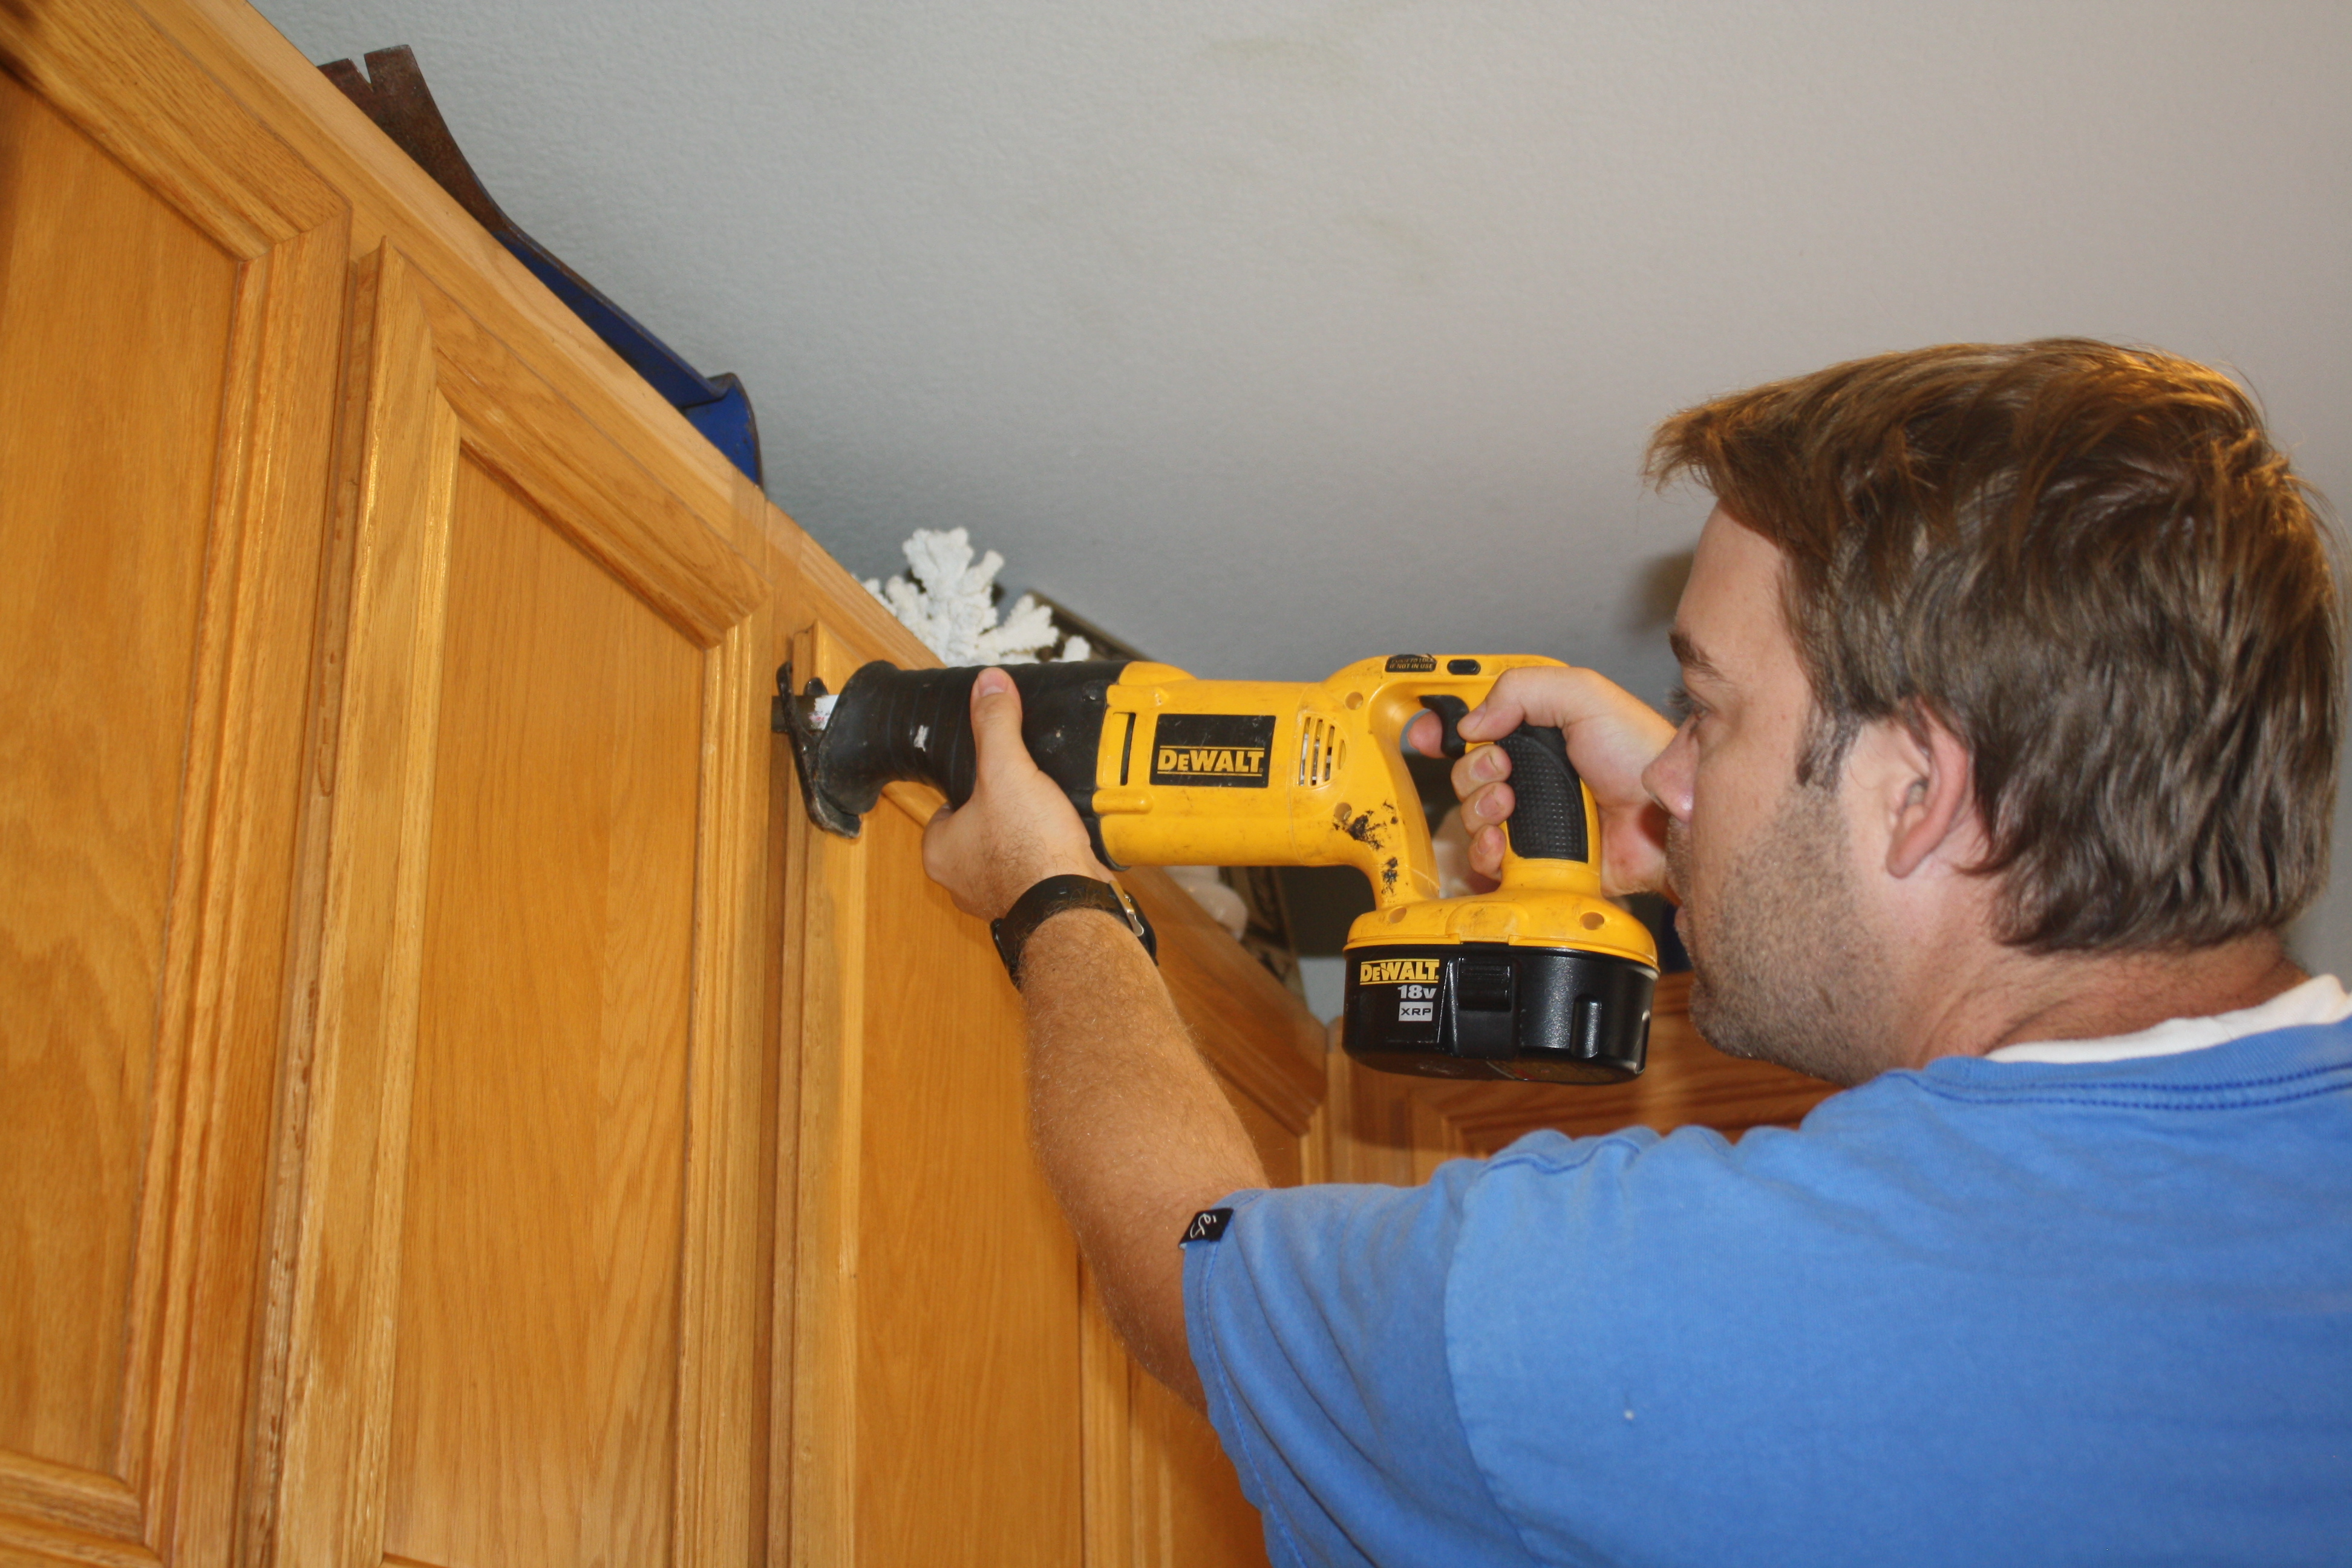
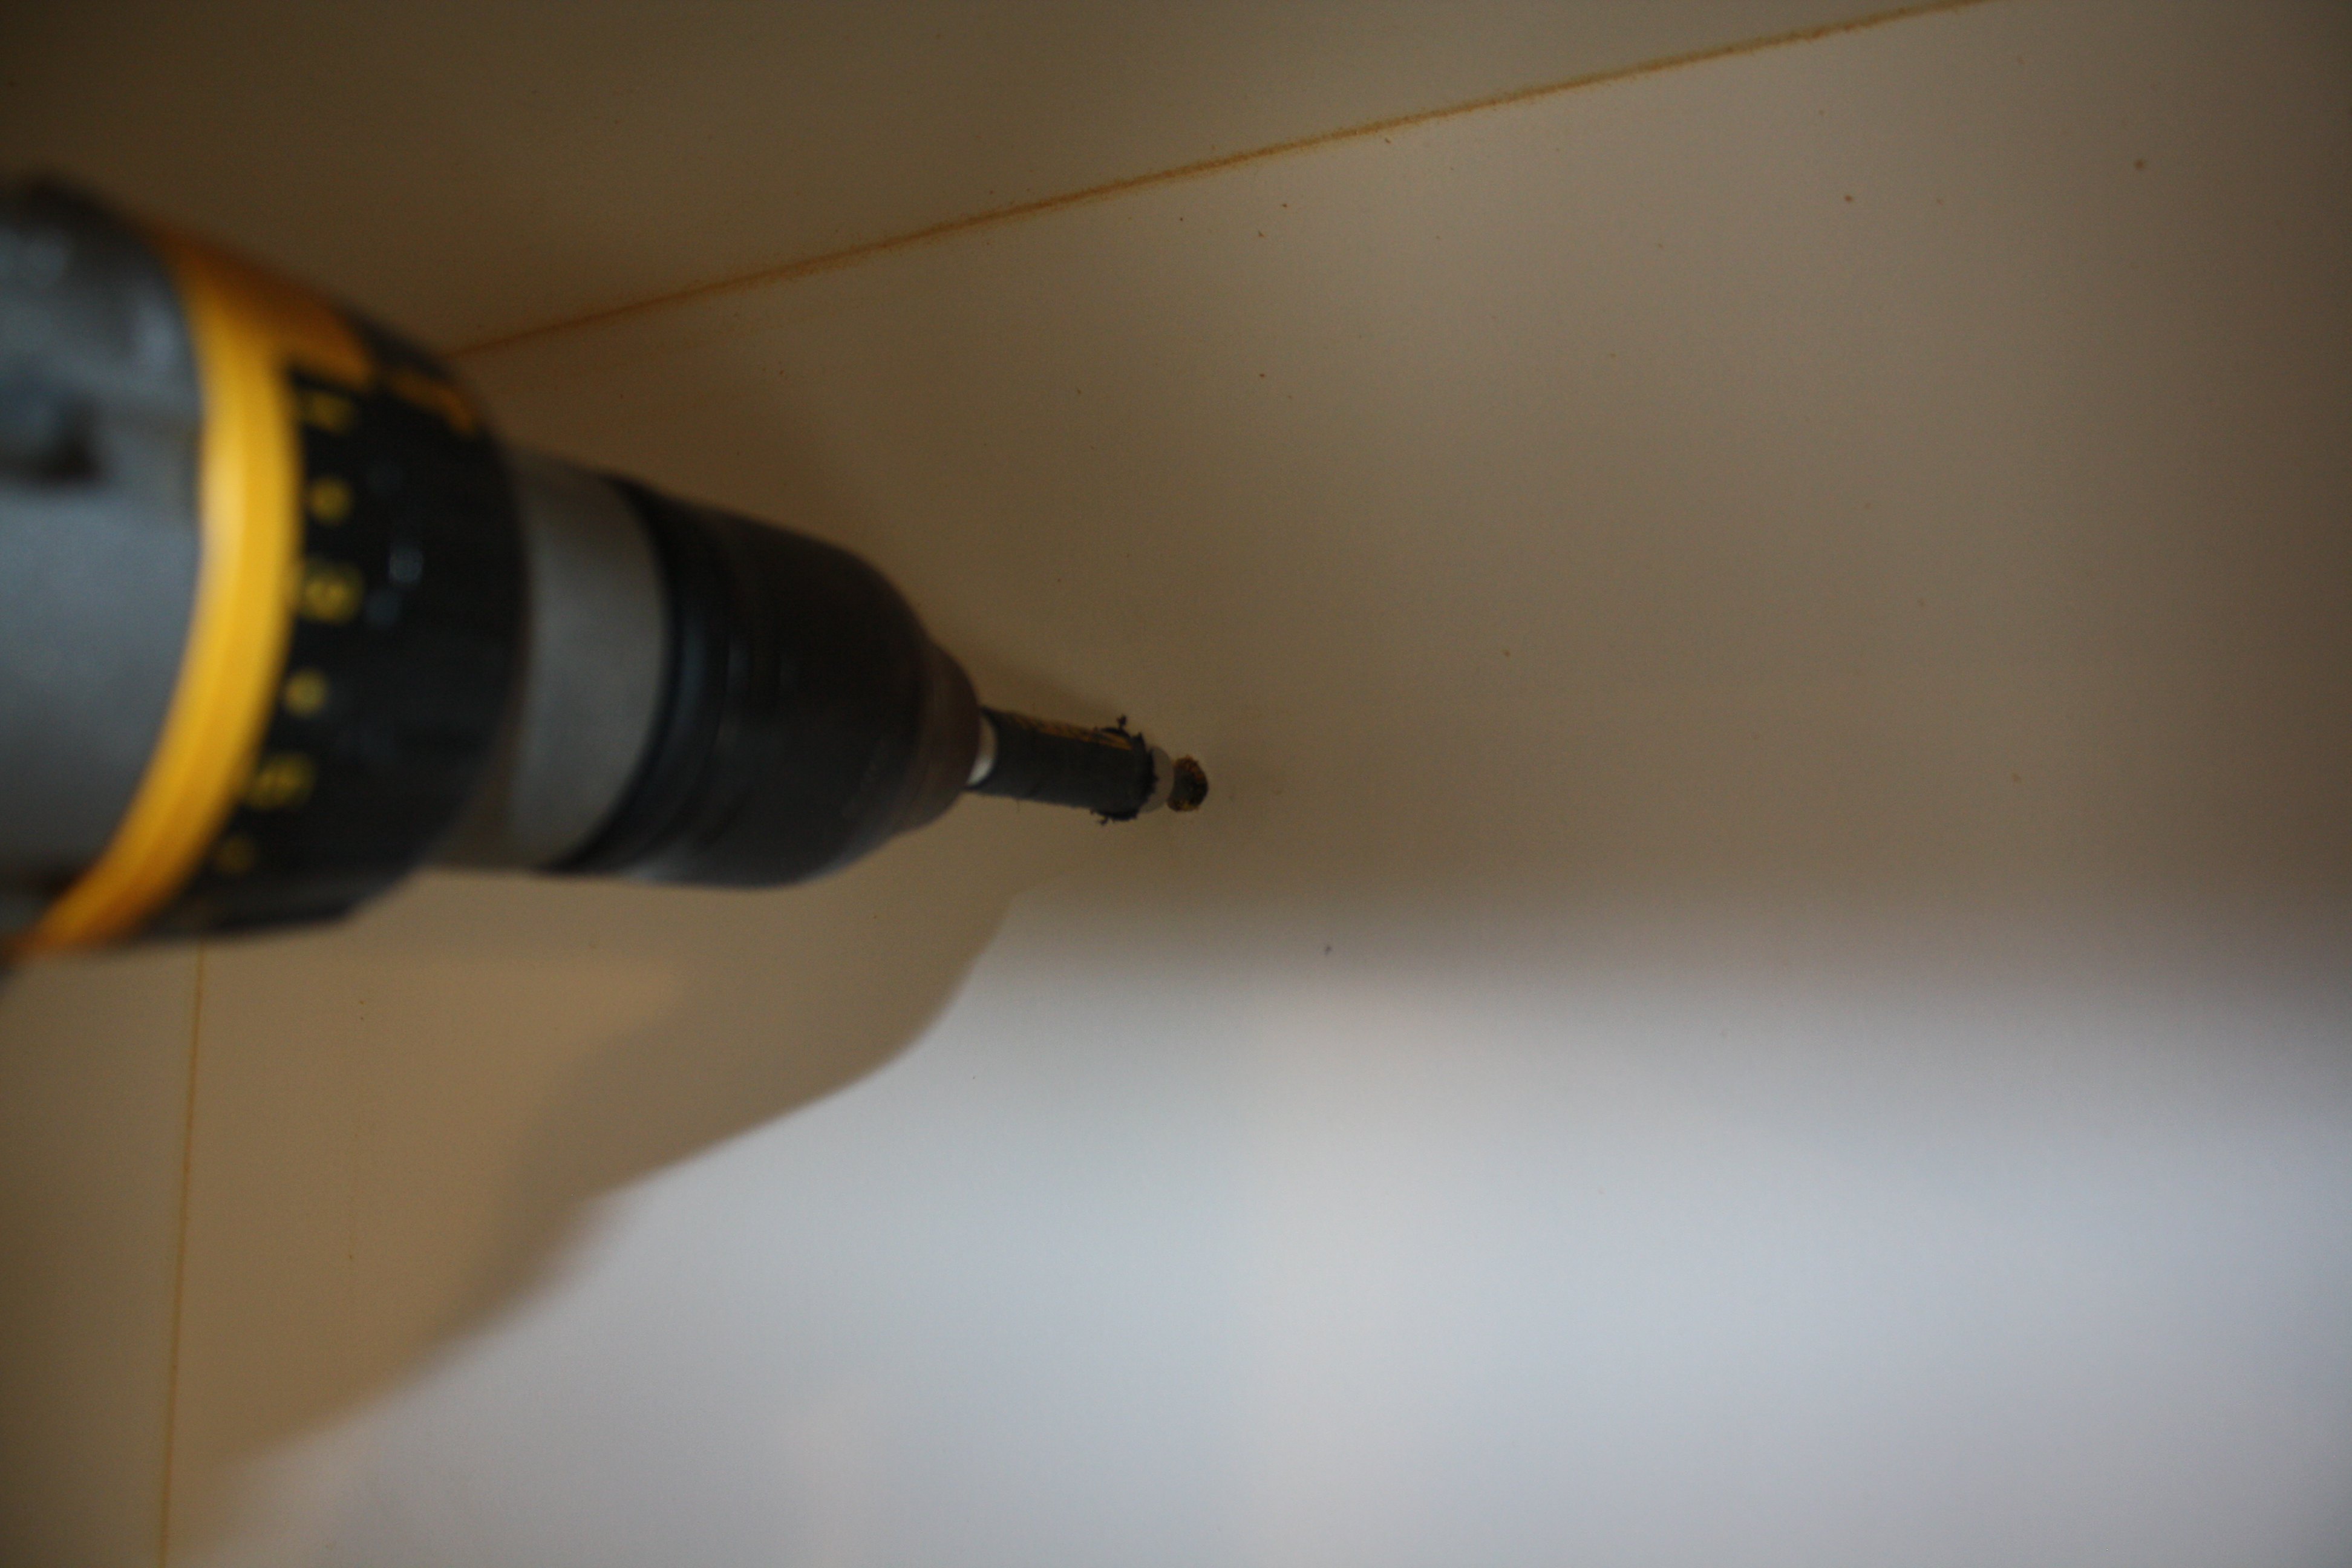
Cutting through the brads was a piece of cake, the saws-all along with a metal cutting blade worked wonders
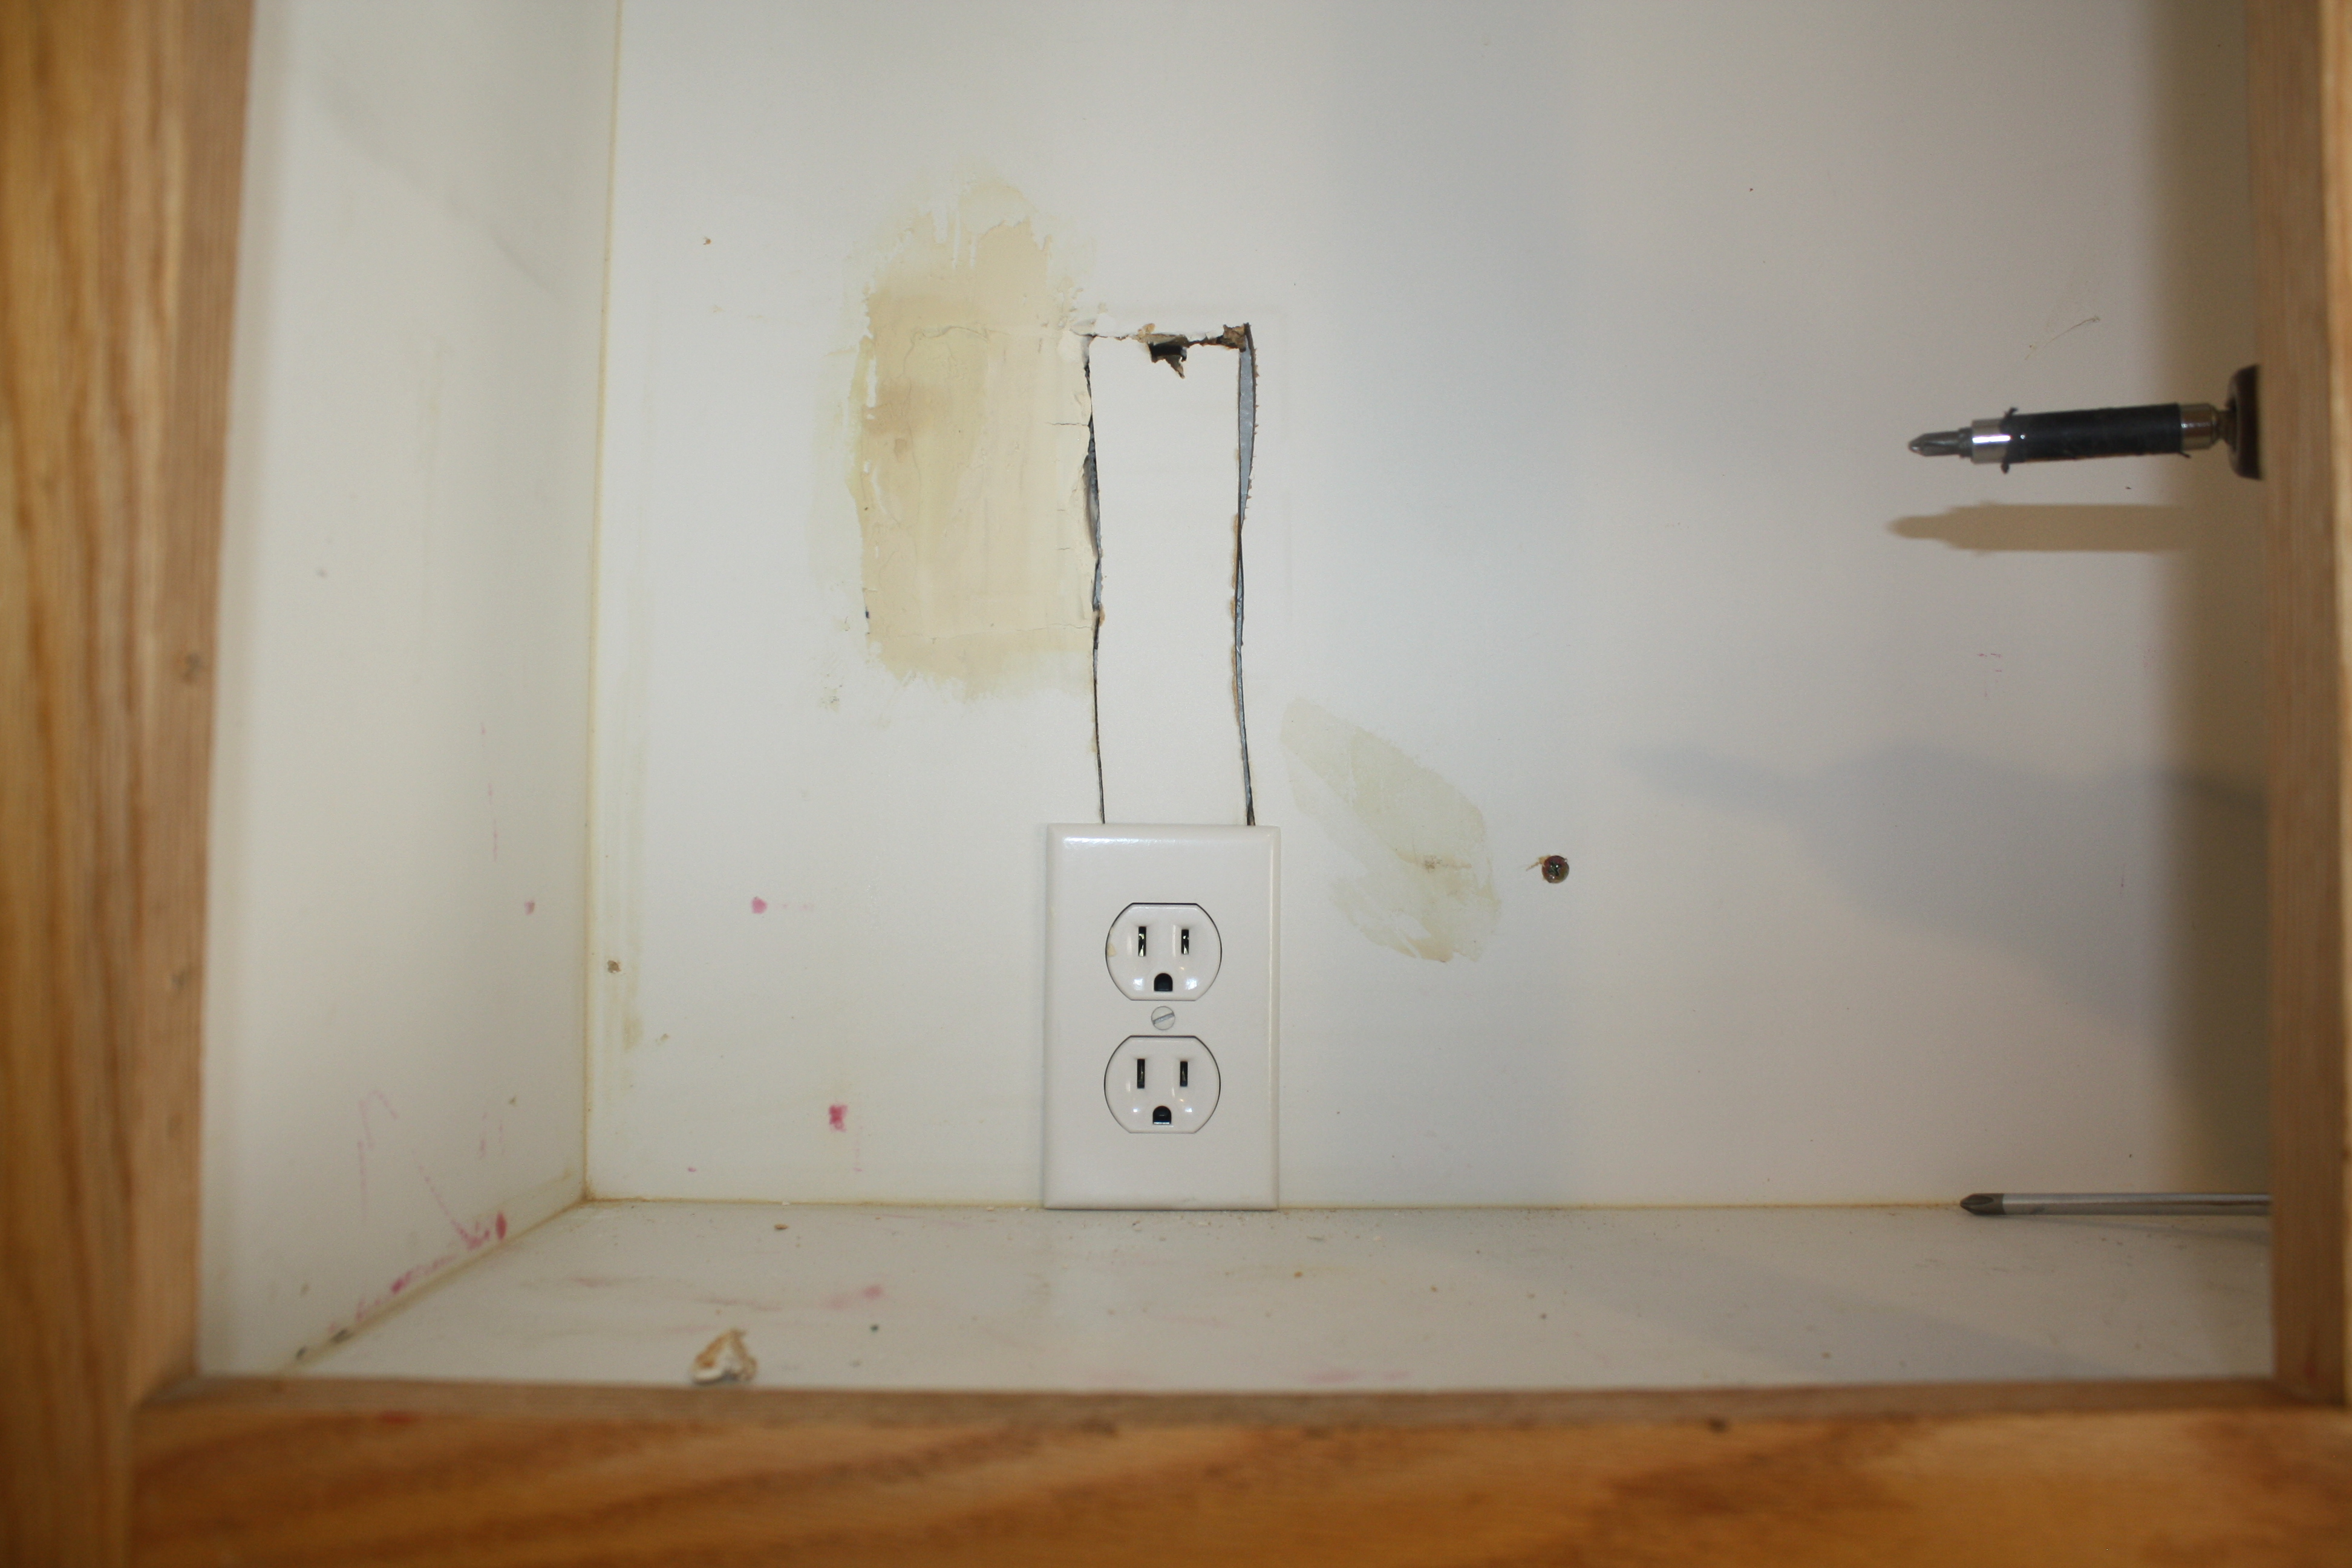
Box has been removed. Originally, I had planned to move the outlet in the wall, so that I could just use the existing hole in the cabinet for it. Turns out there is plywood behind this wall, which makes cutting holes for electrical boxes a bit more difficult. So instead, I decided to cut a new hole in the cabinet as low as I could so that when I replace the cabinet at its new height, I would line up.

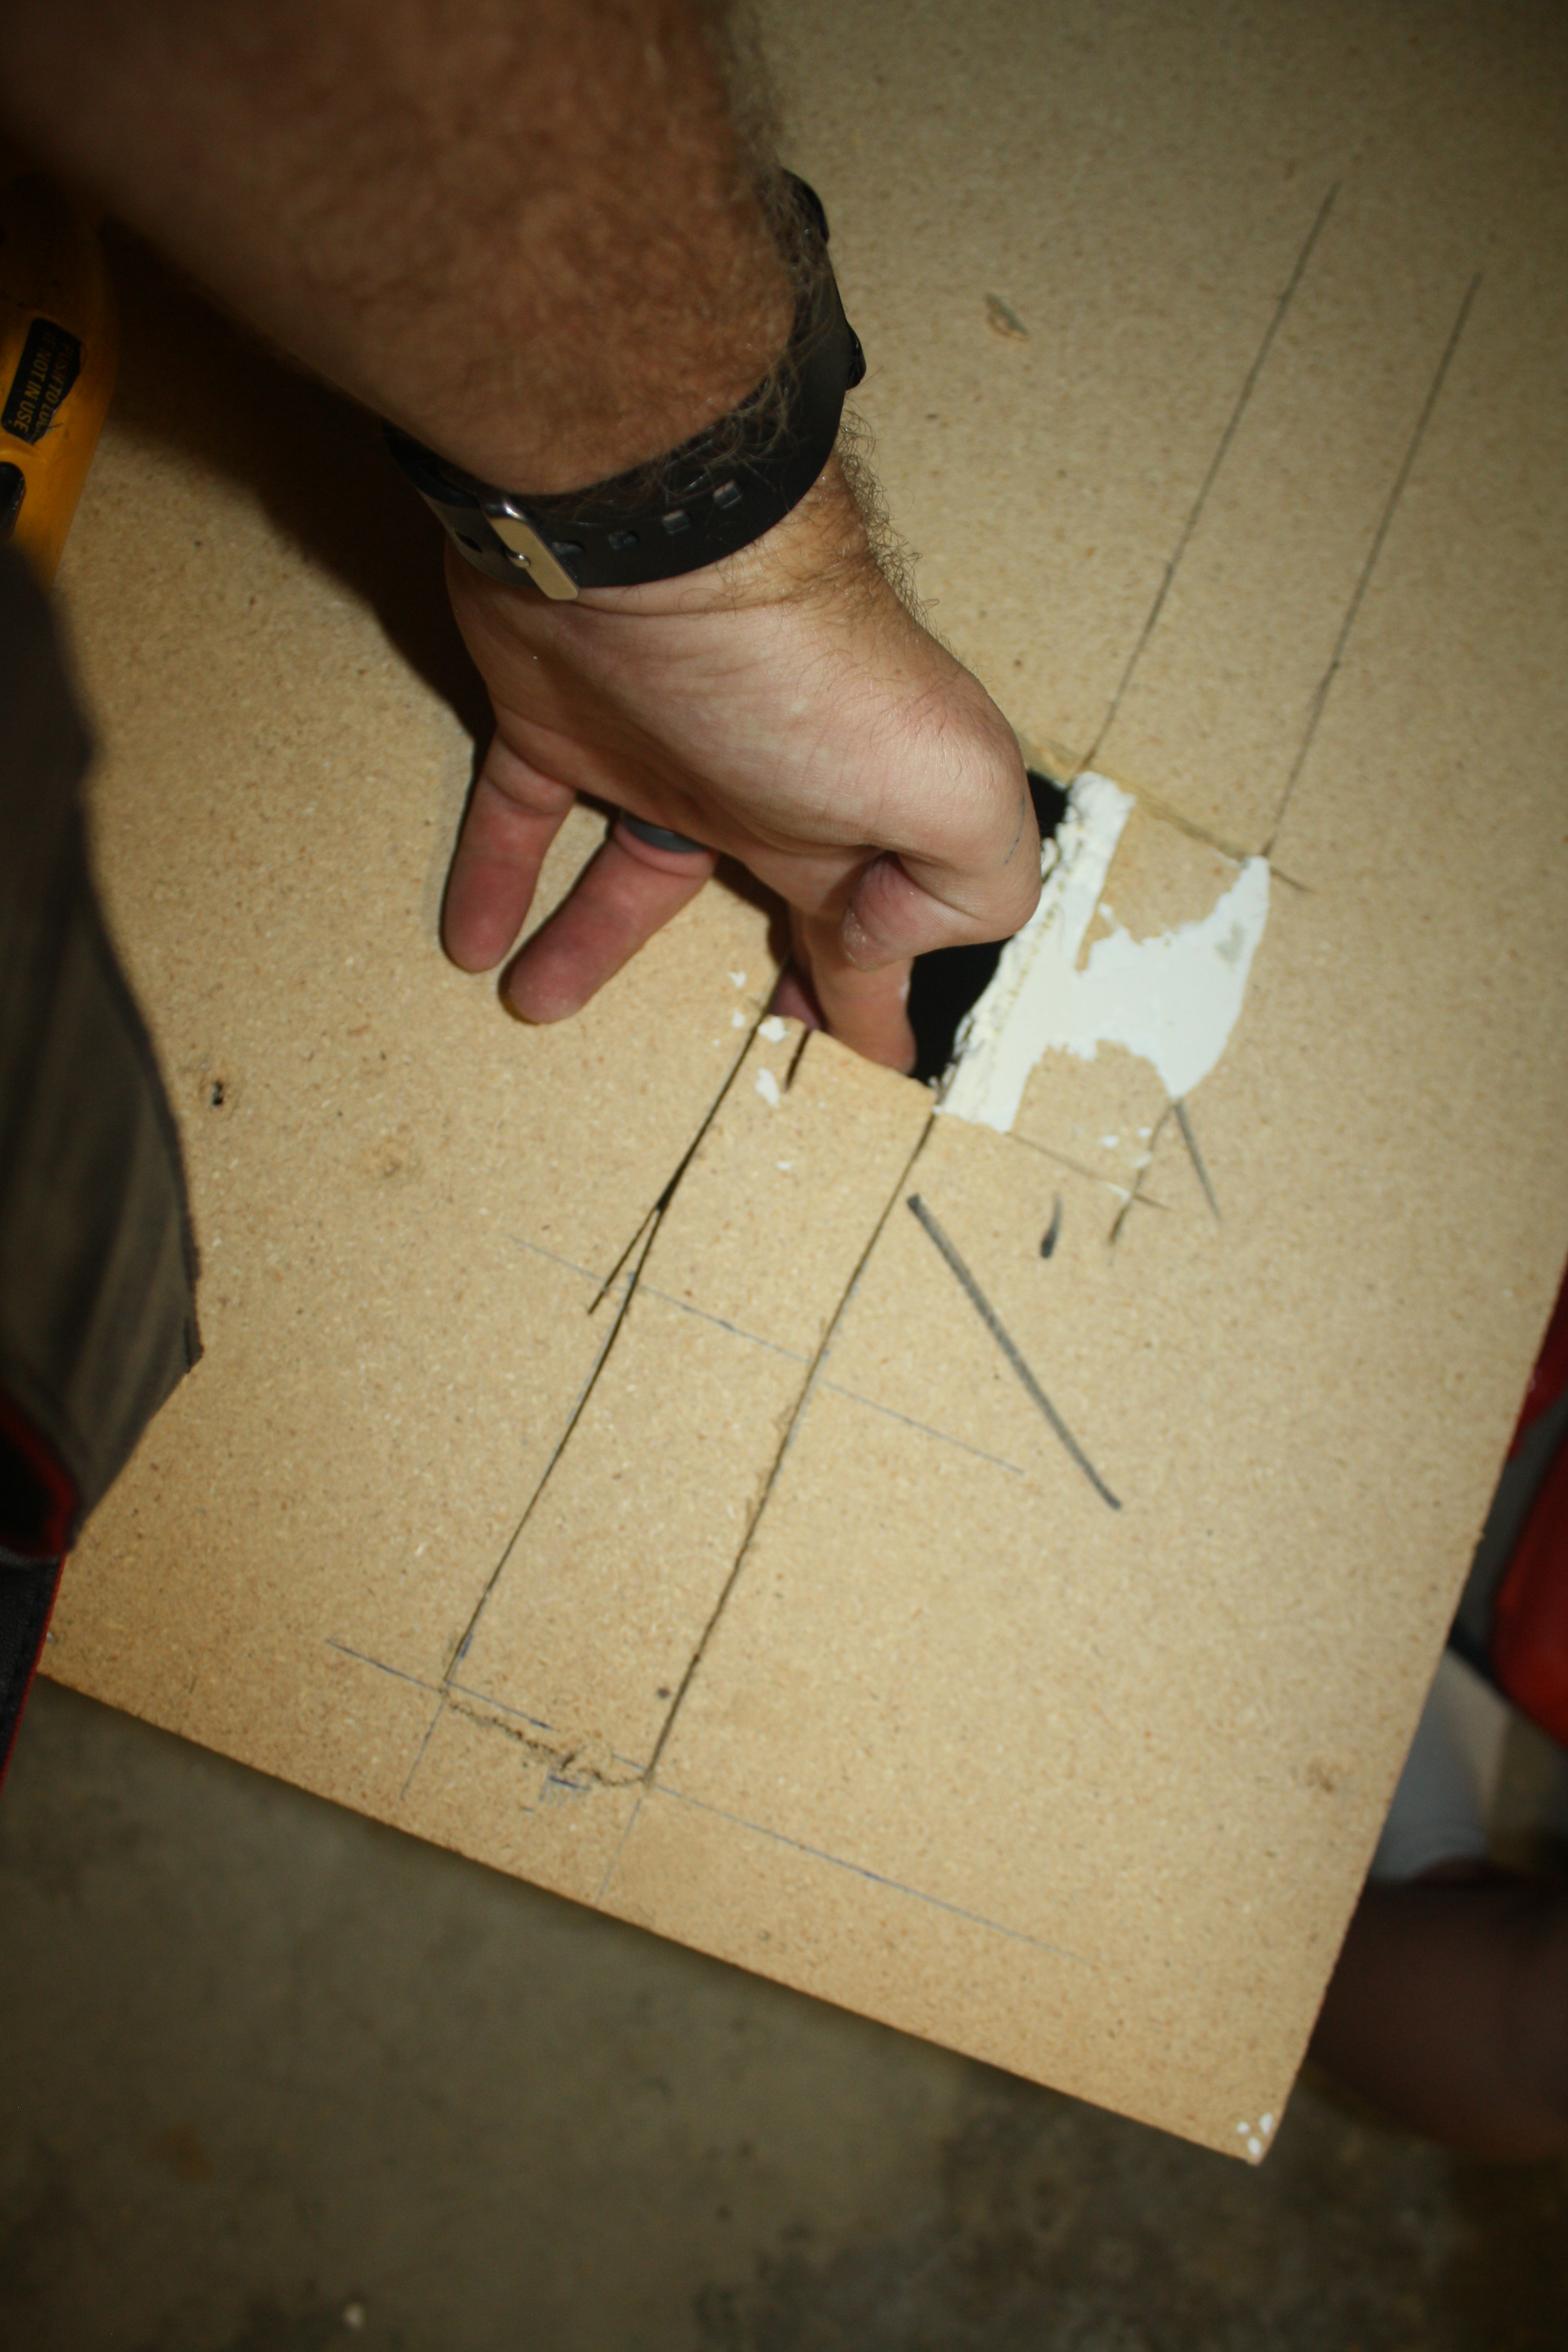
About 6.25″ is what I needed. I figured that if I just cut a long strip connecting the existing hole all the way down the the new position, then I could take the piece of wood that was cut out and just move it up to cover the old hole.
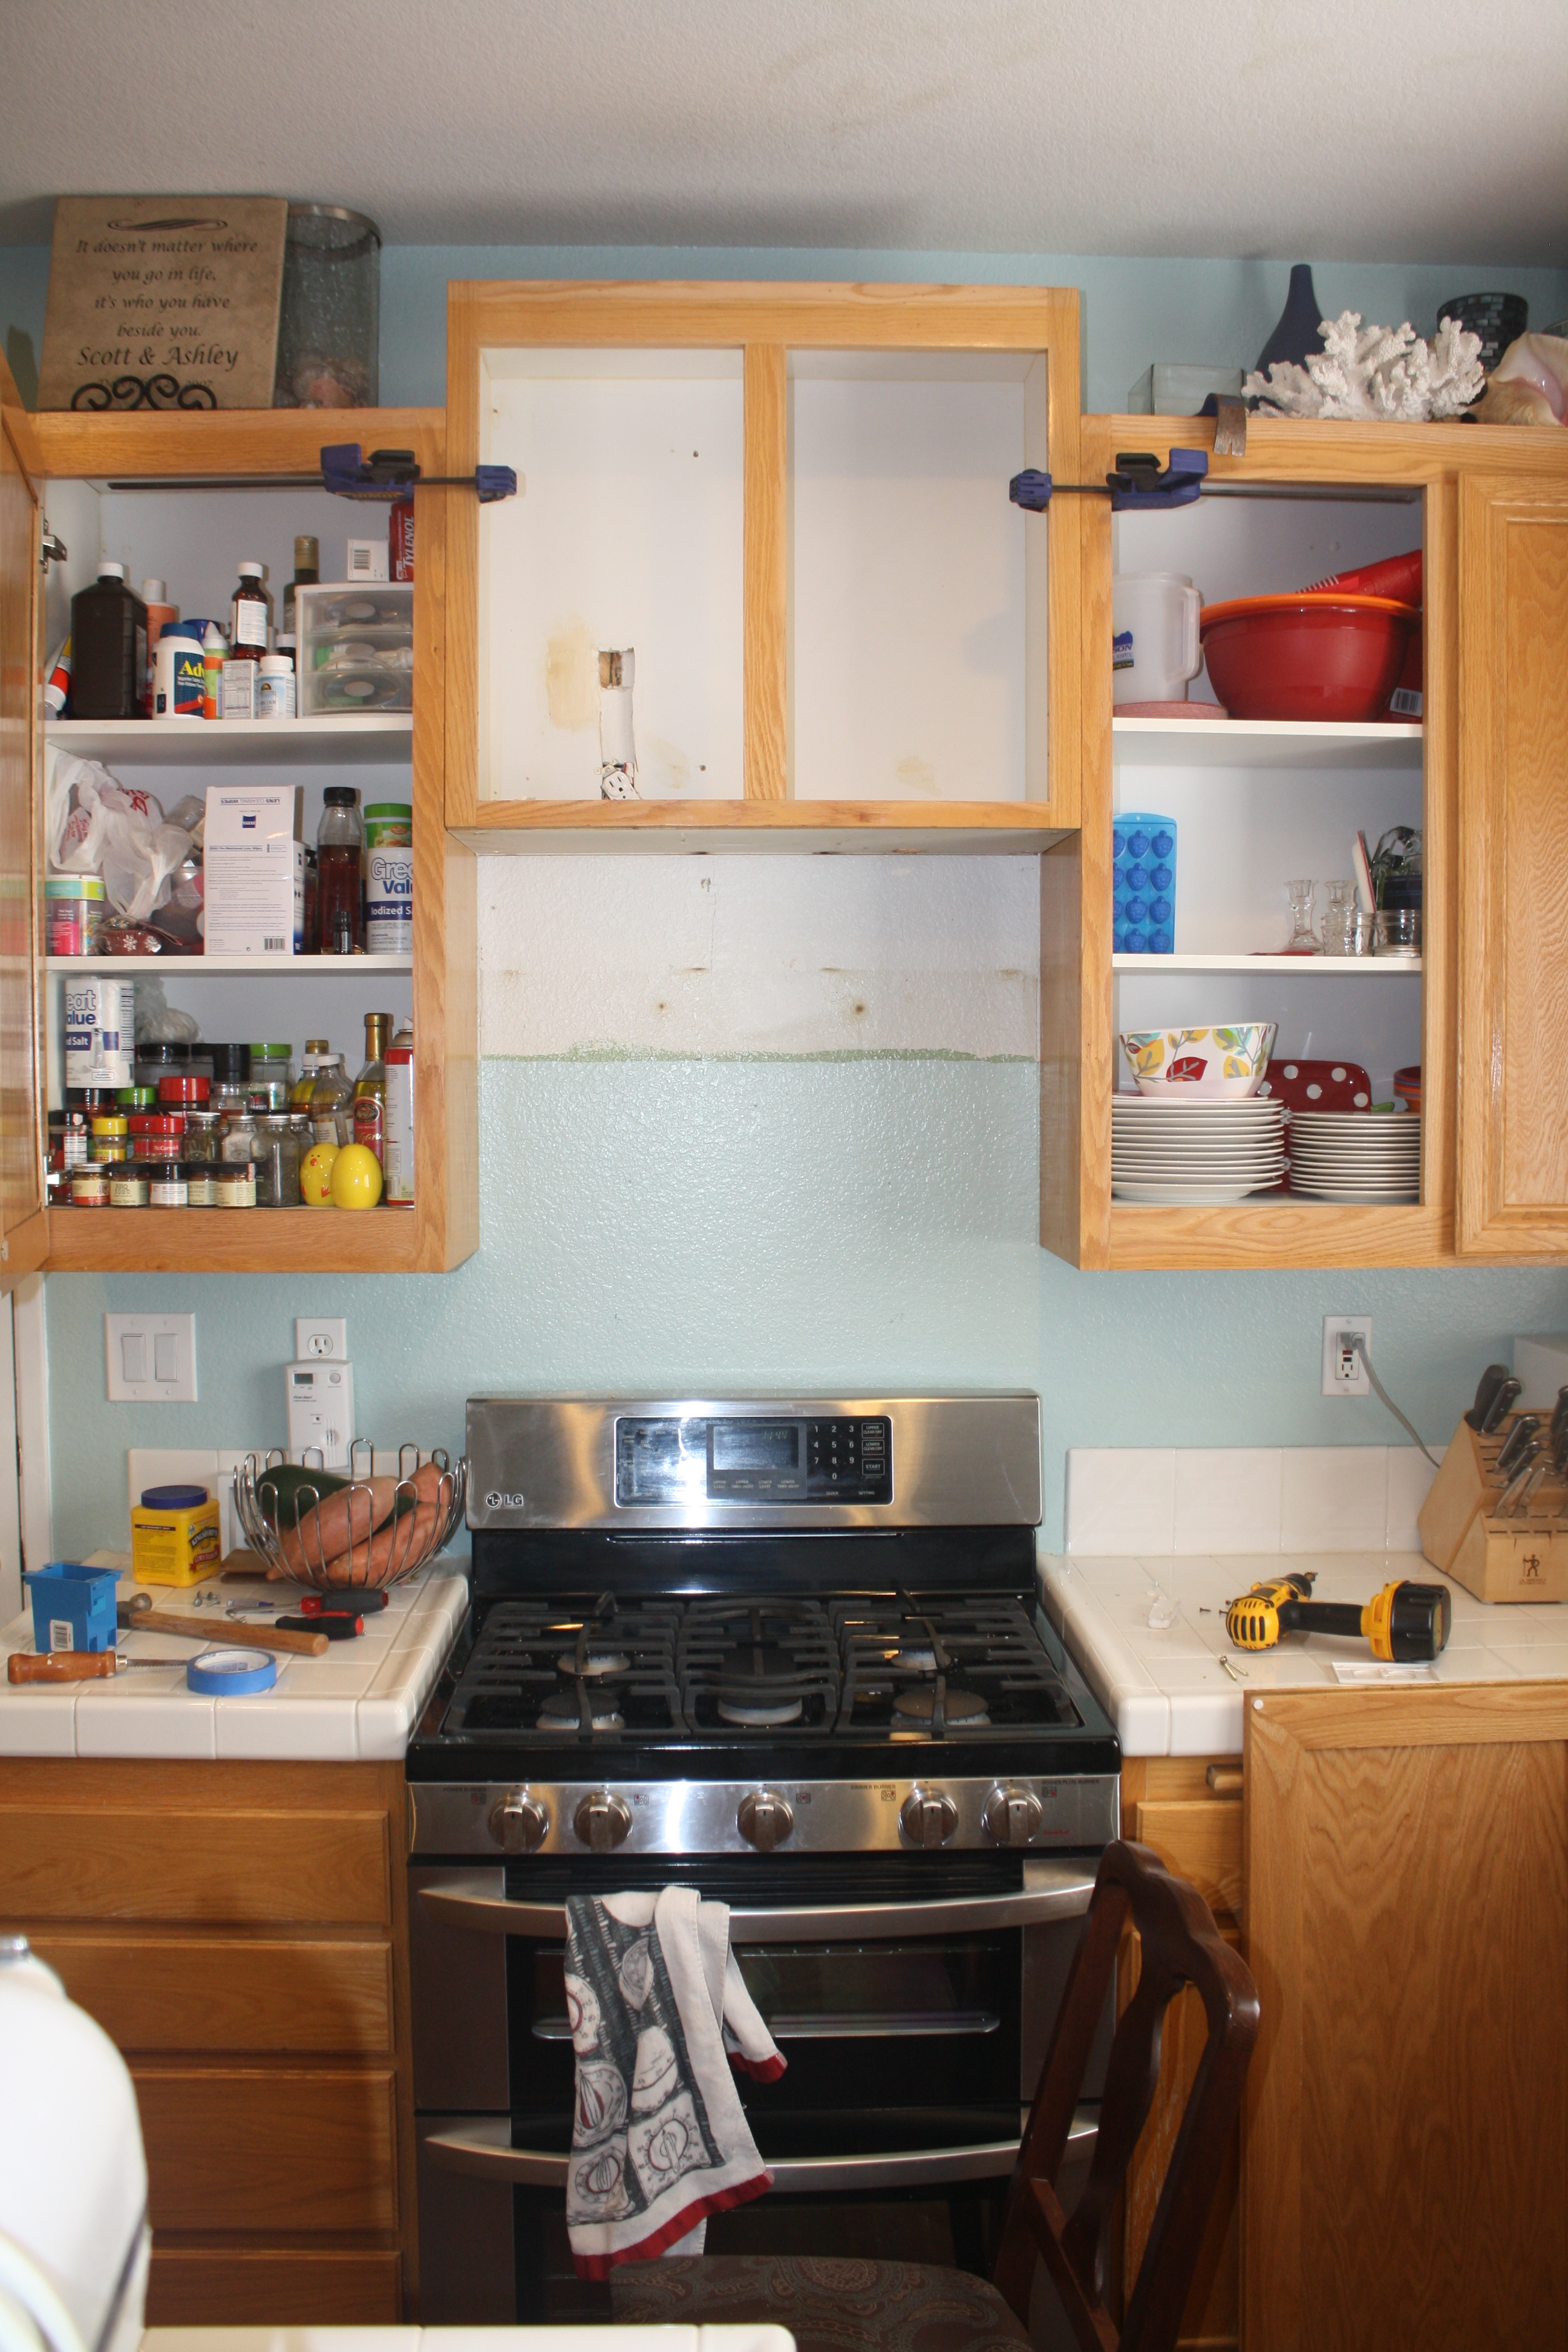
In the picture on the left, you can see the new, long, hole for the outlet. On the right, the cabinet has been placed in its new position, with the outlet lined up with the bottom of the new hole. I used clamps to hold in in place with the adjacent cabinets…
…while I screwed it back into the studs that it is anchored to.
Here’s what it looks like with the cut out wood moved up to cover the original hole, and the outlet replaced and covered.
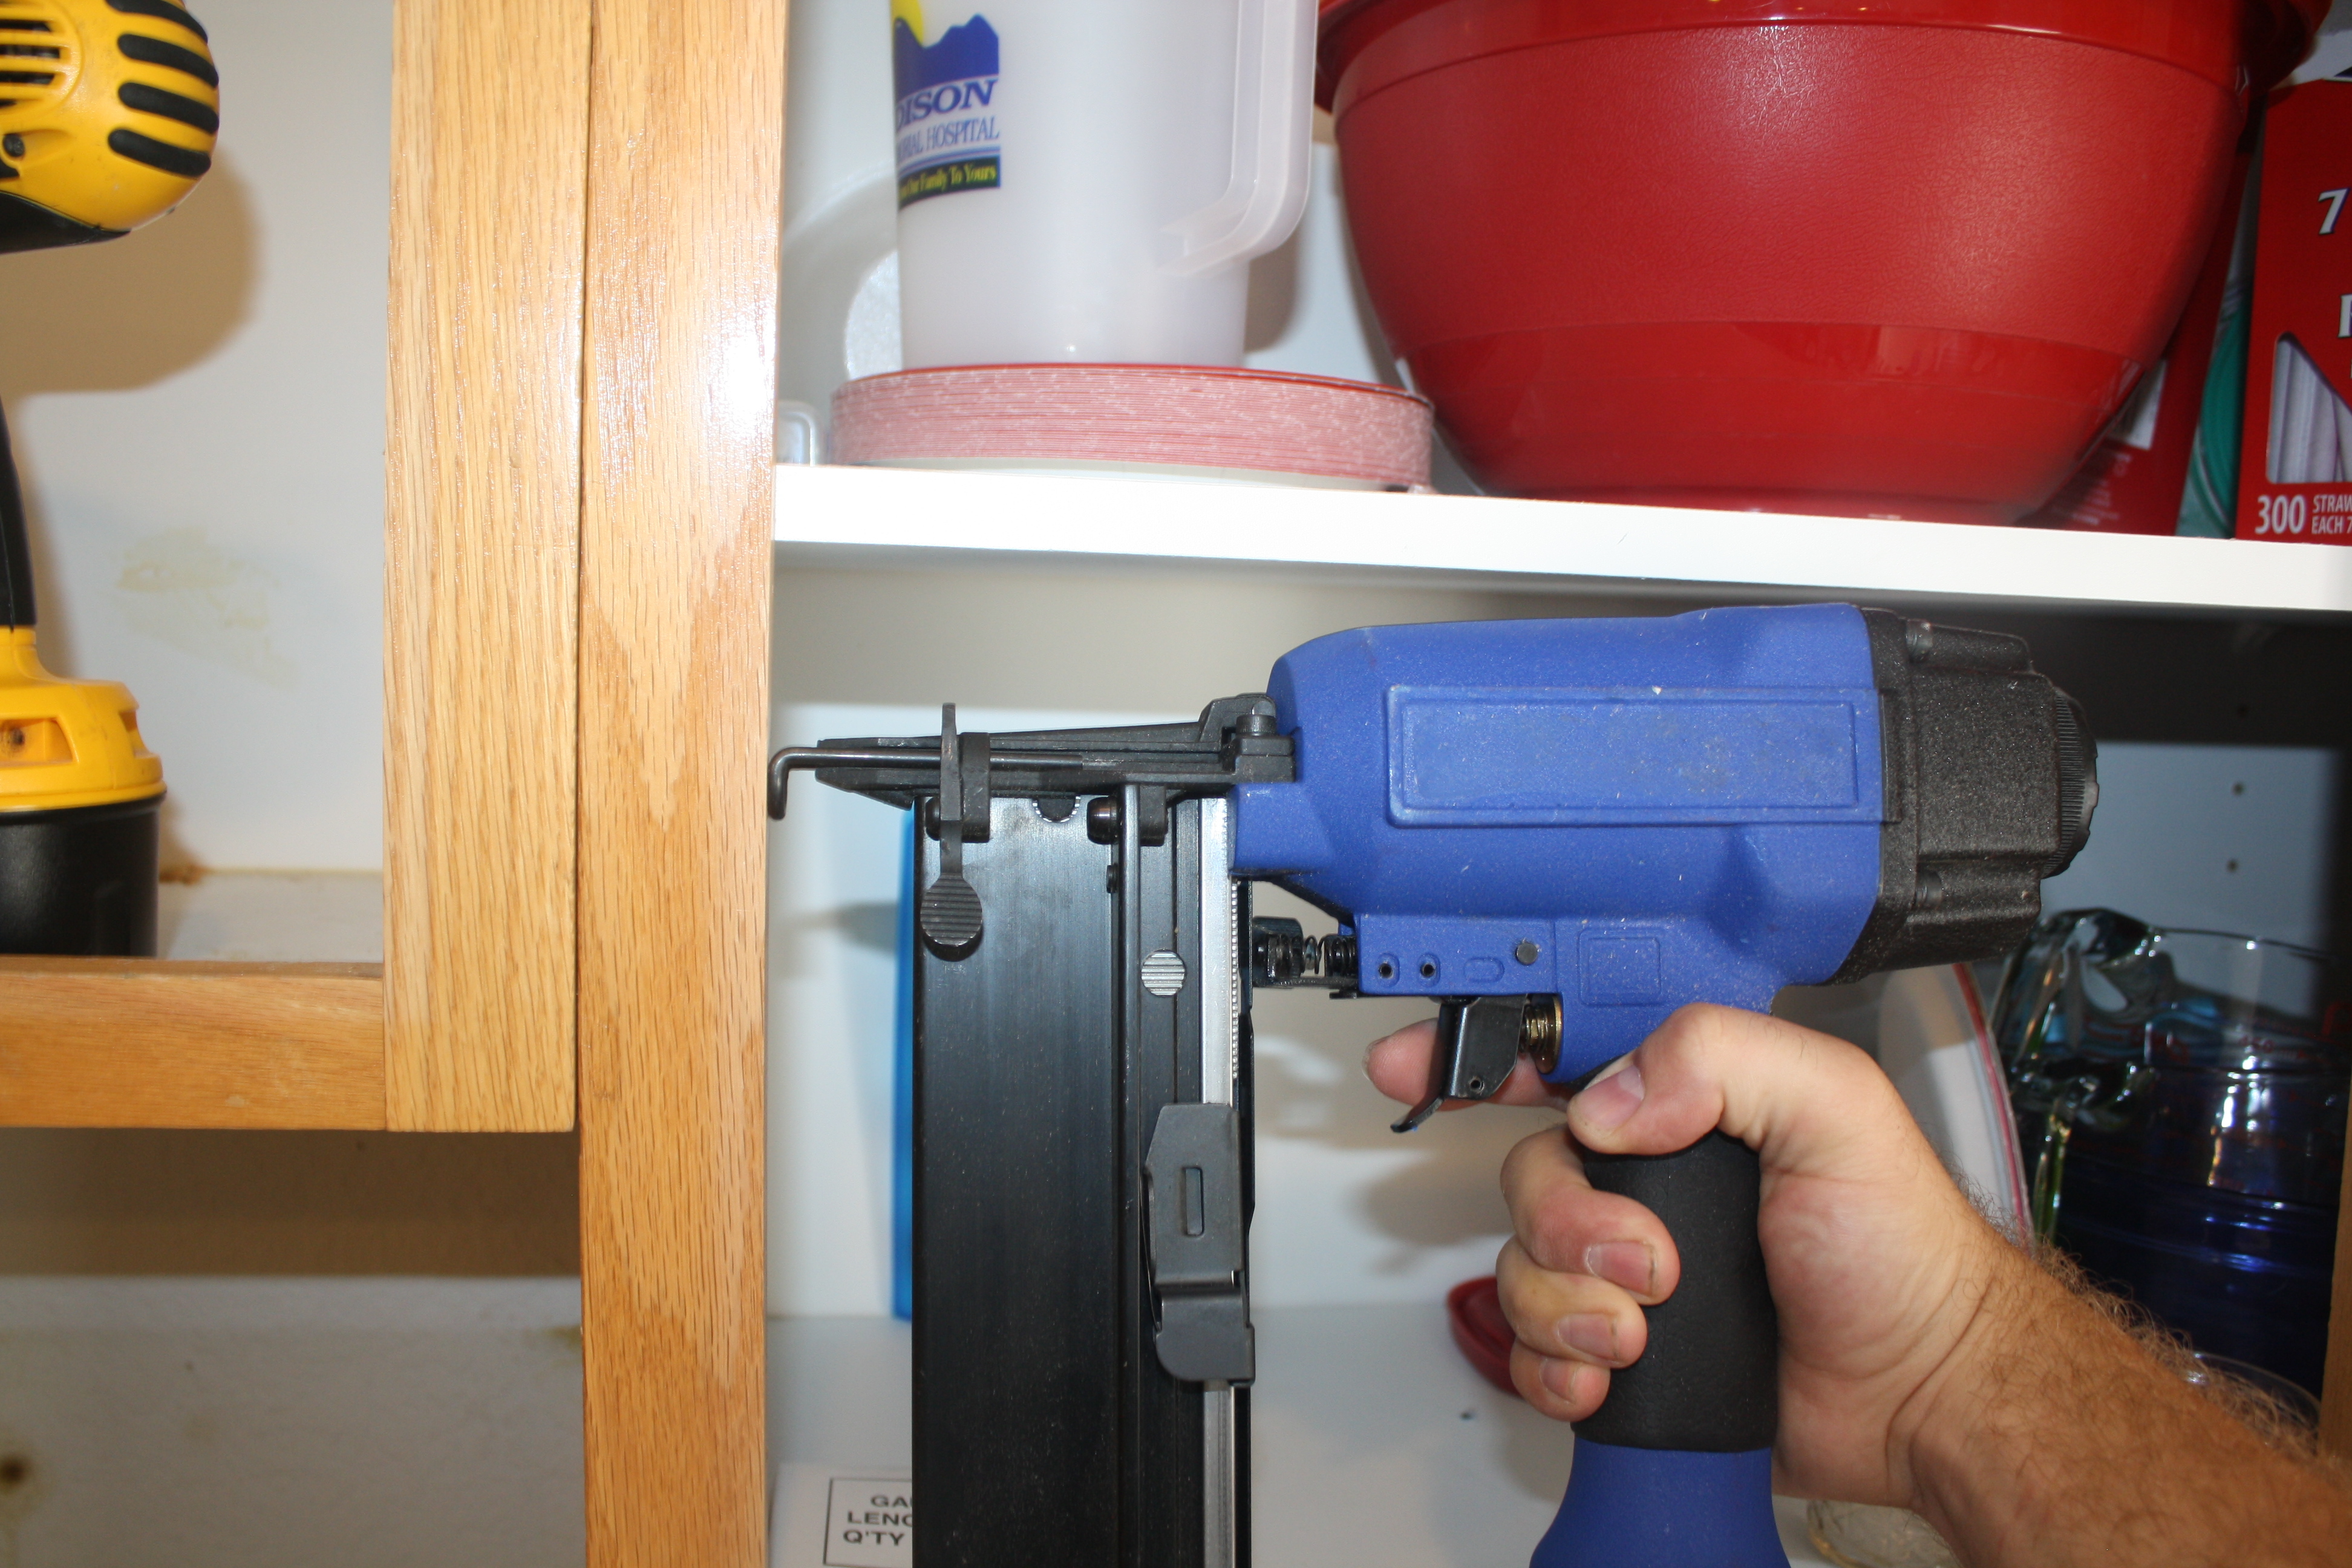
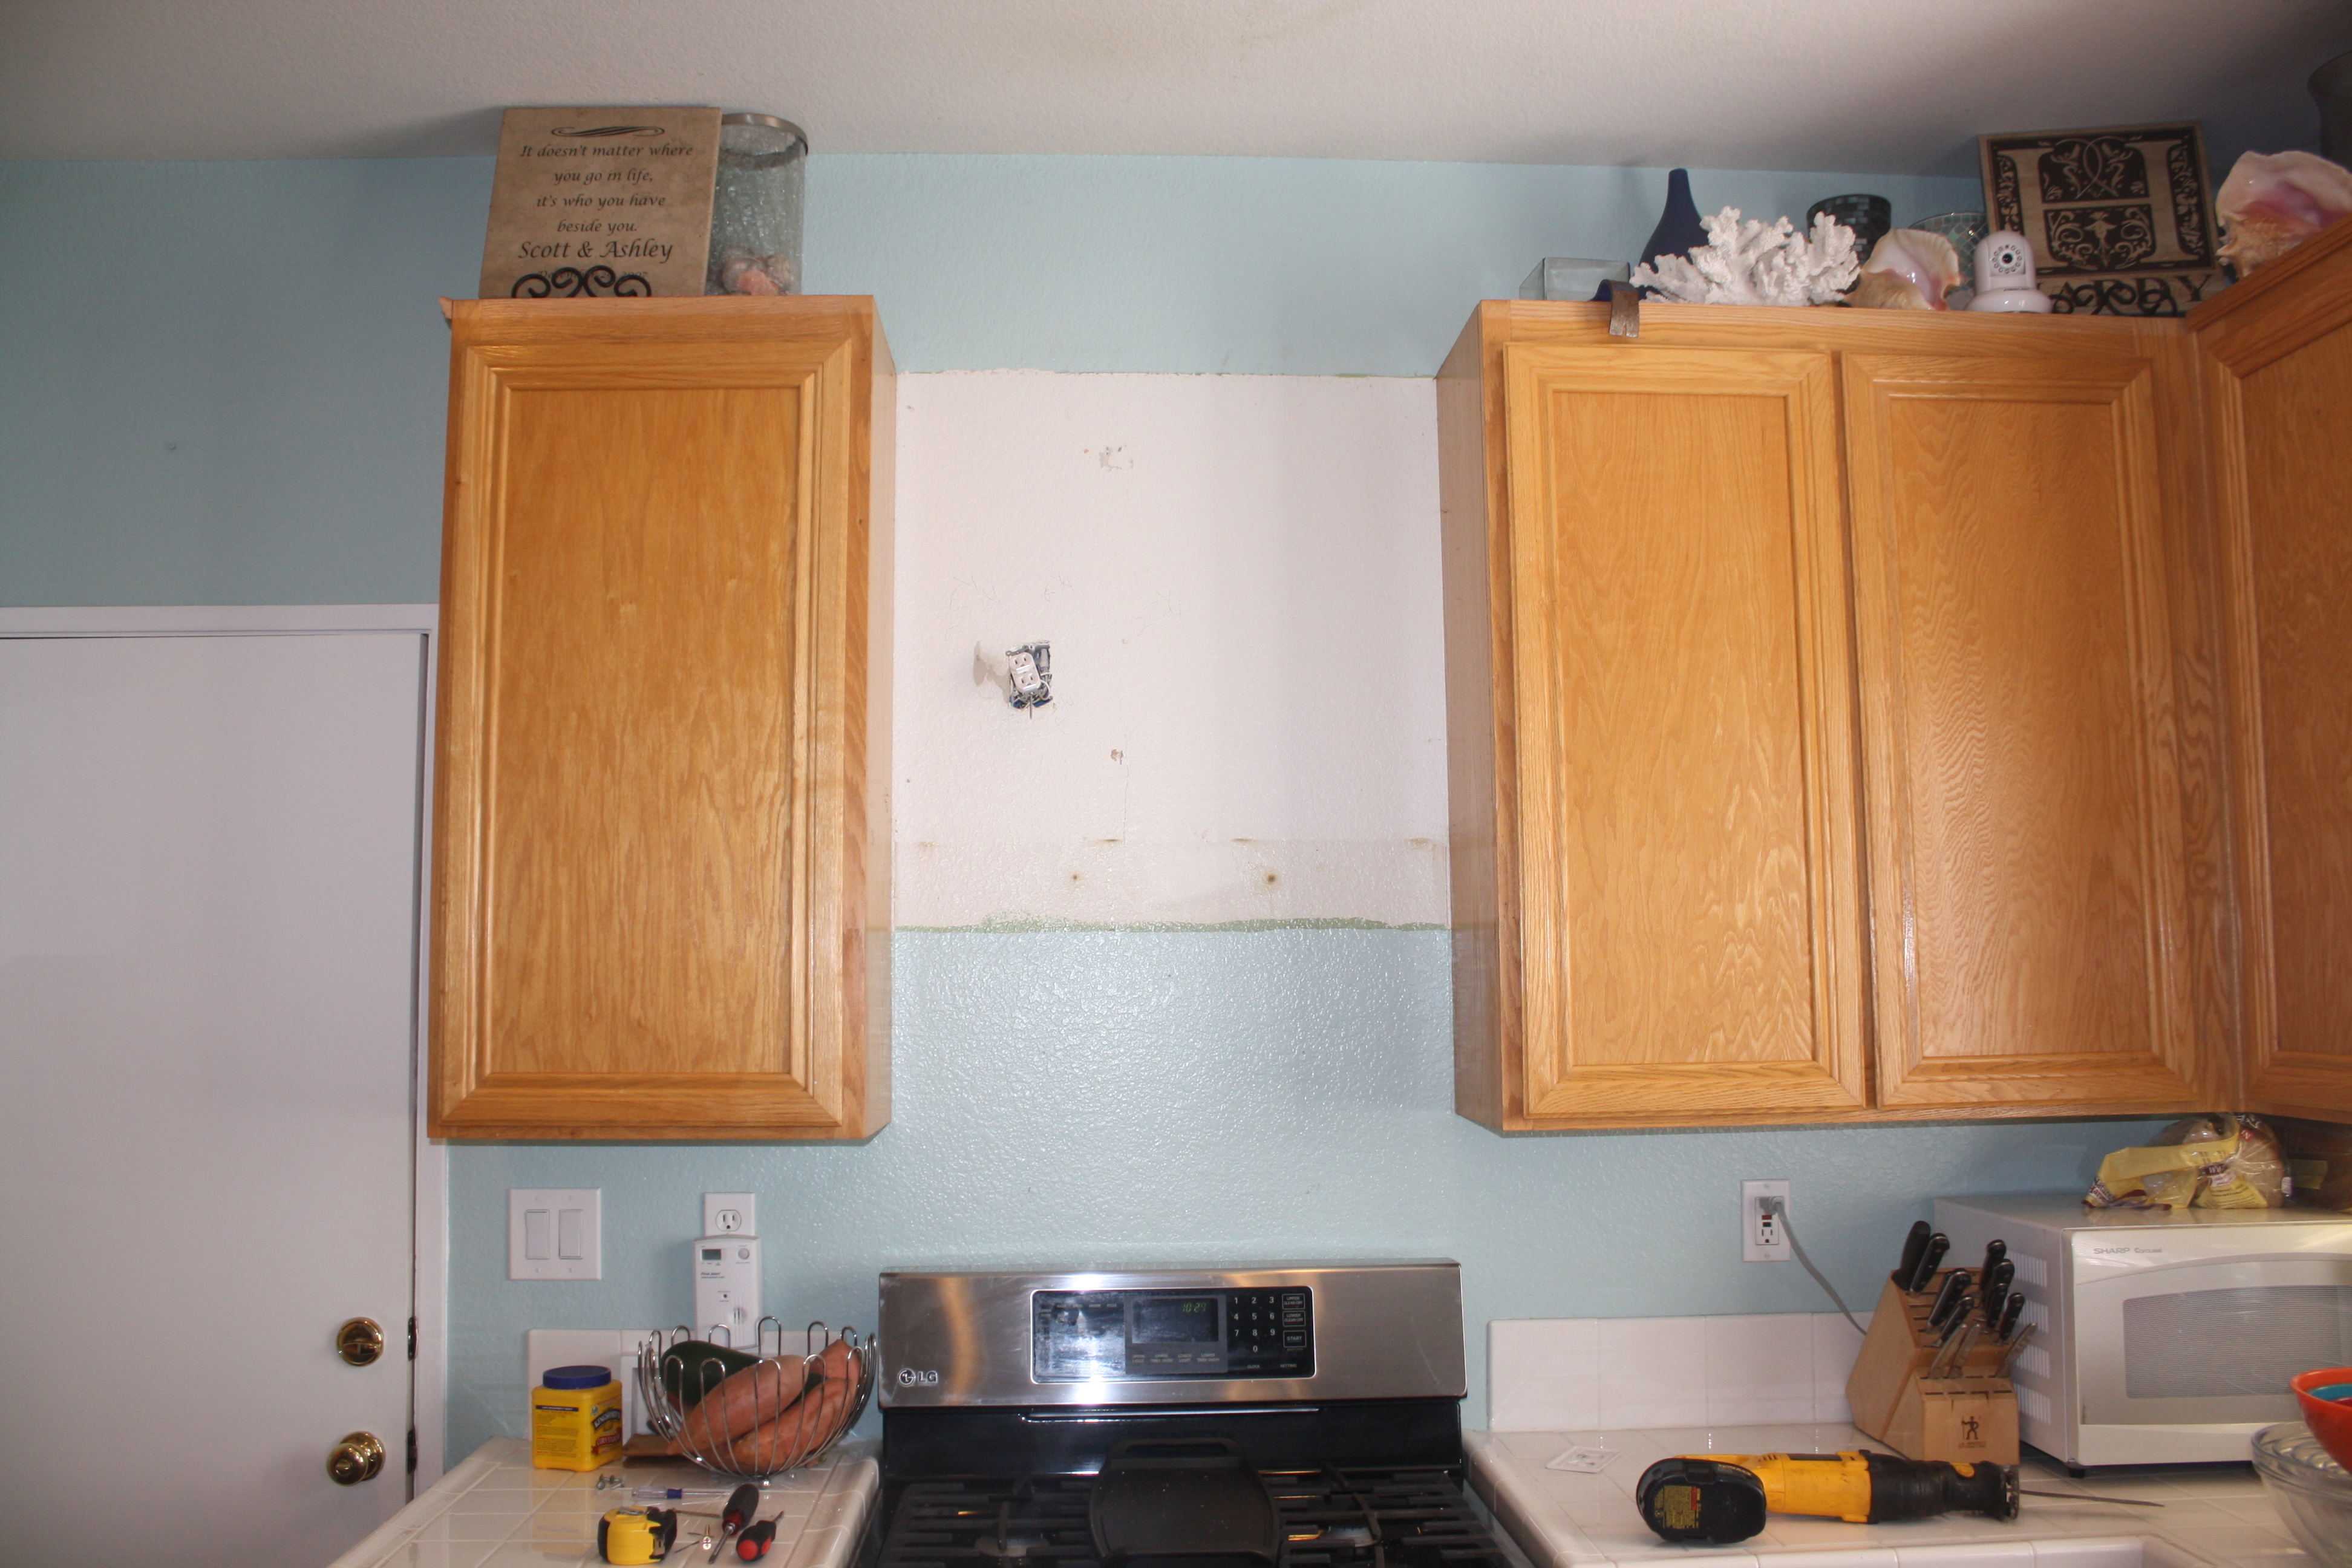
Time to put some new brads in from the the adjacent boxes for extra support.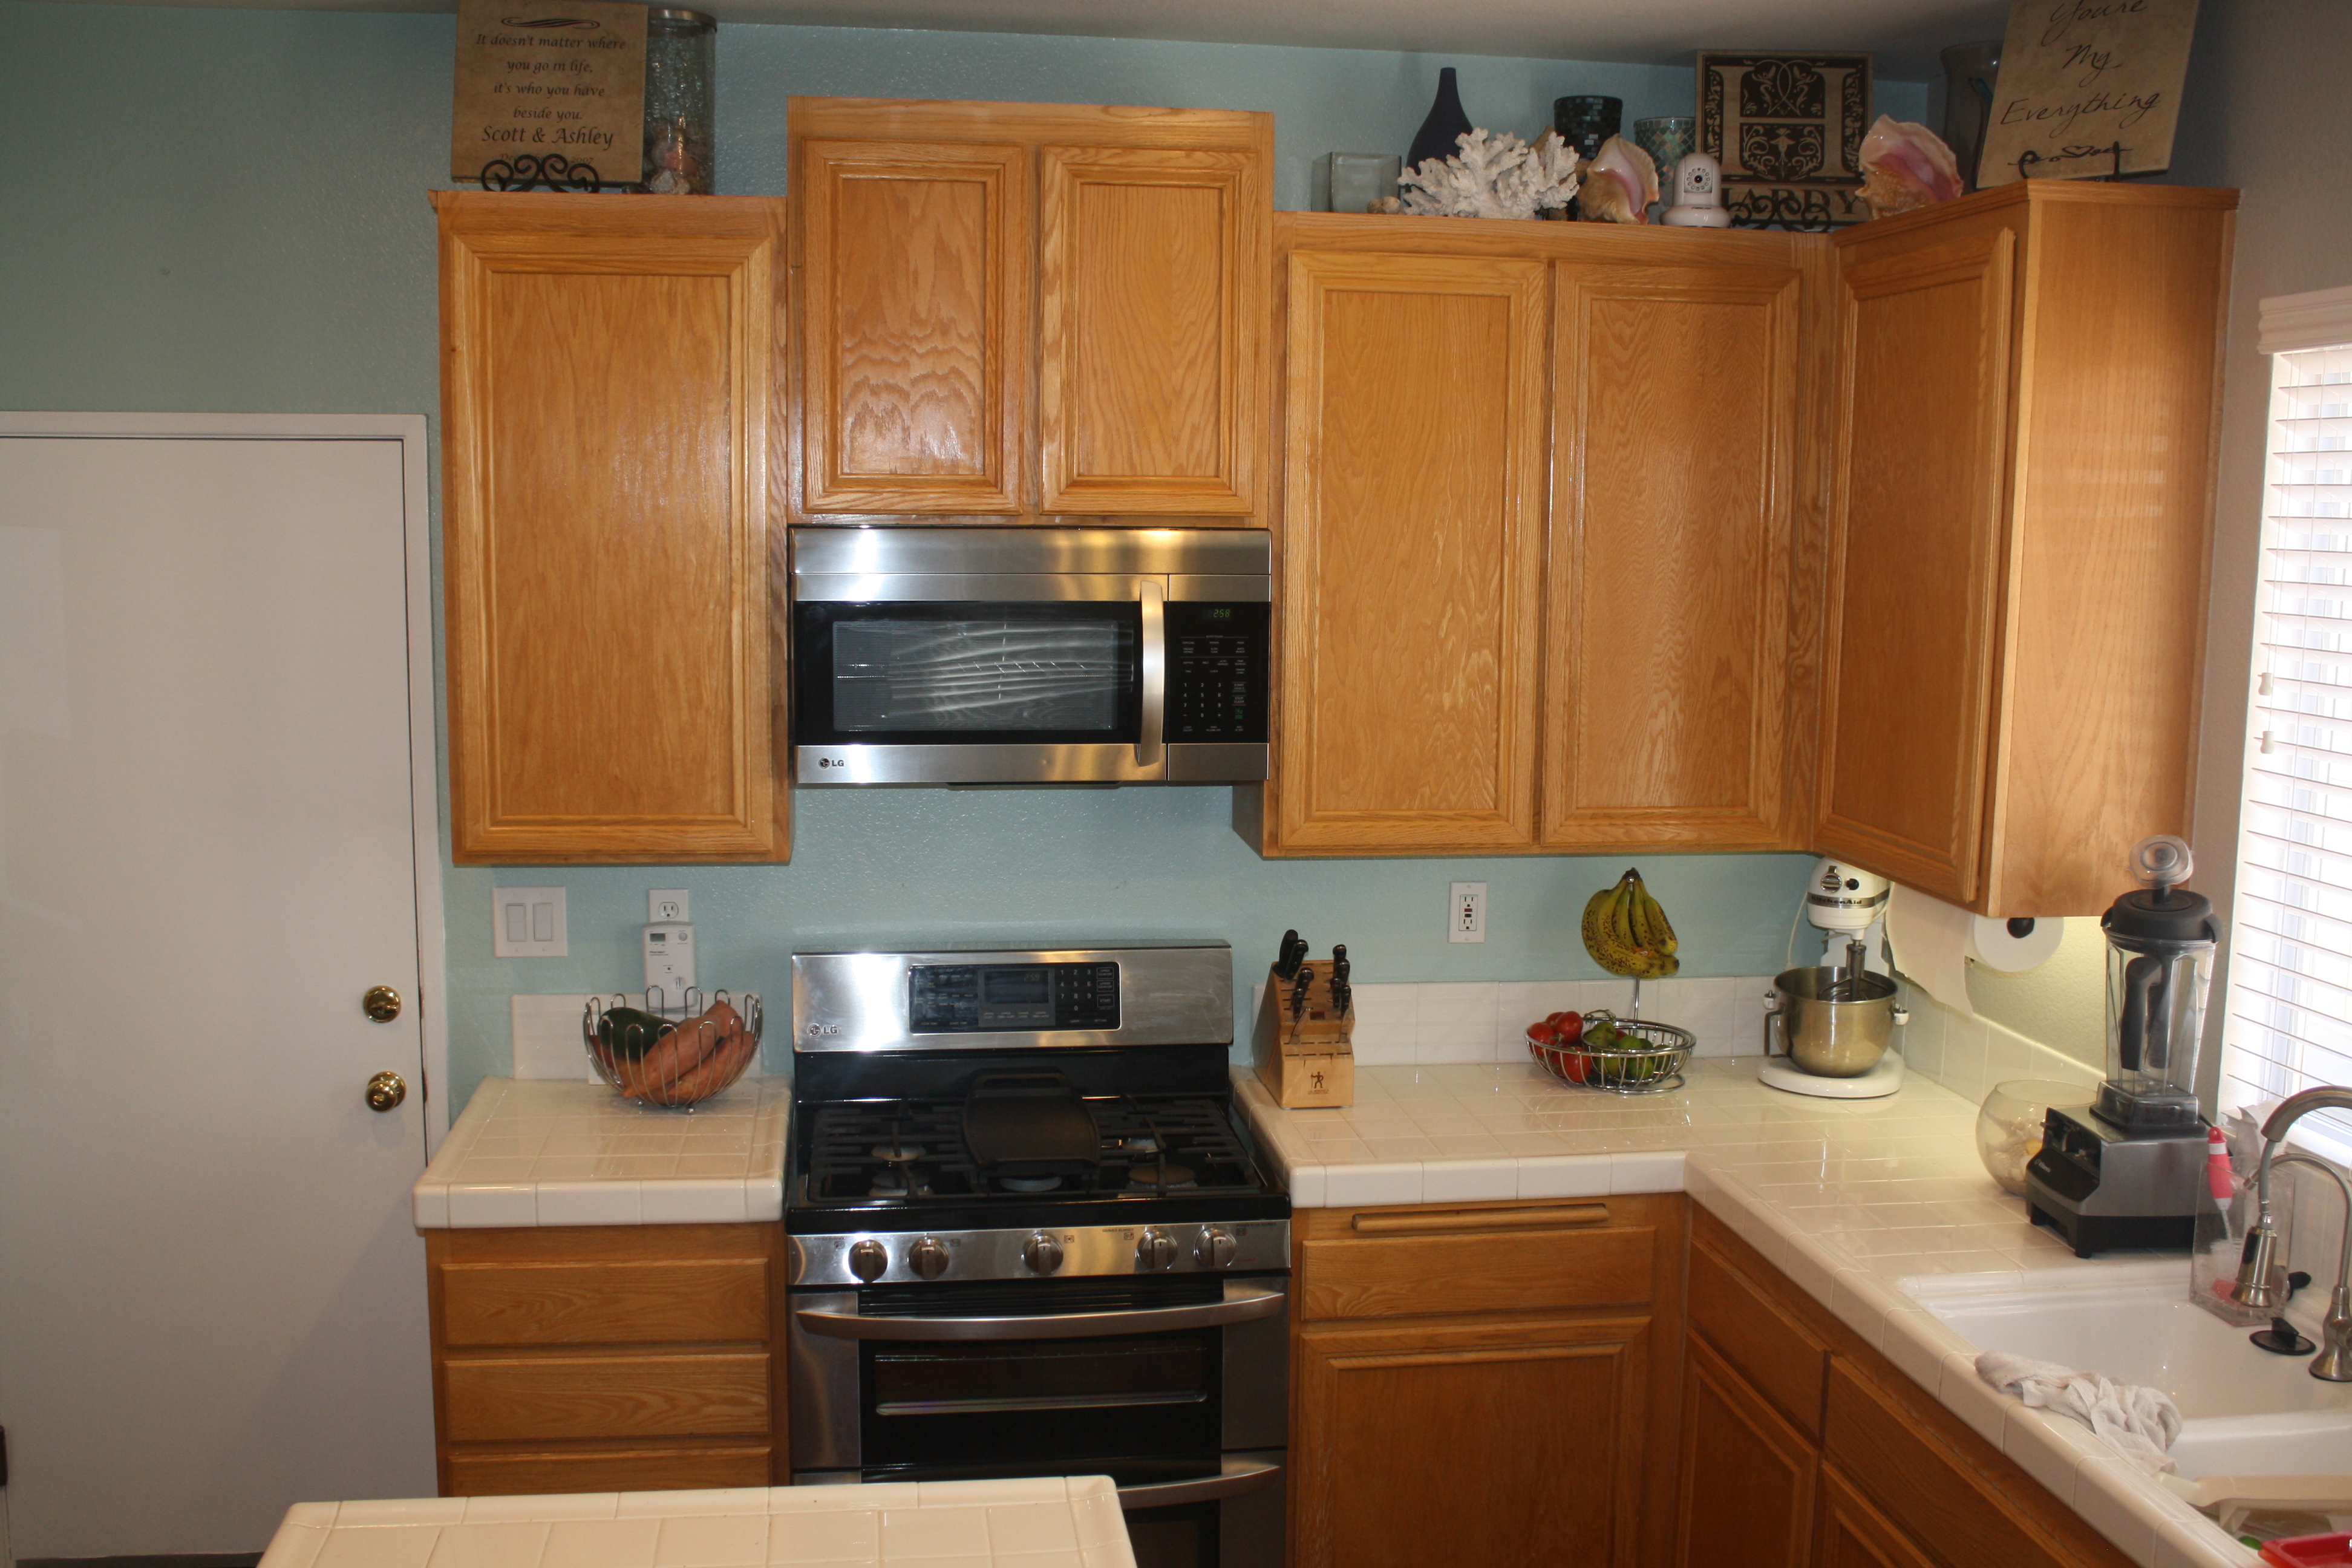 And here is the final product. The box is 6″ higher, the countertop is much less crowded, and the new microwave looks awesome.